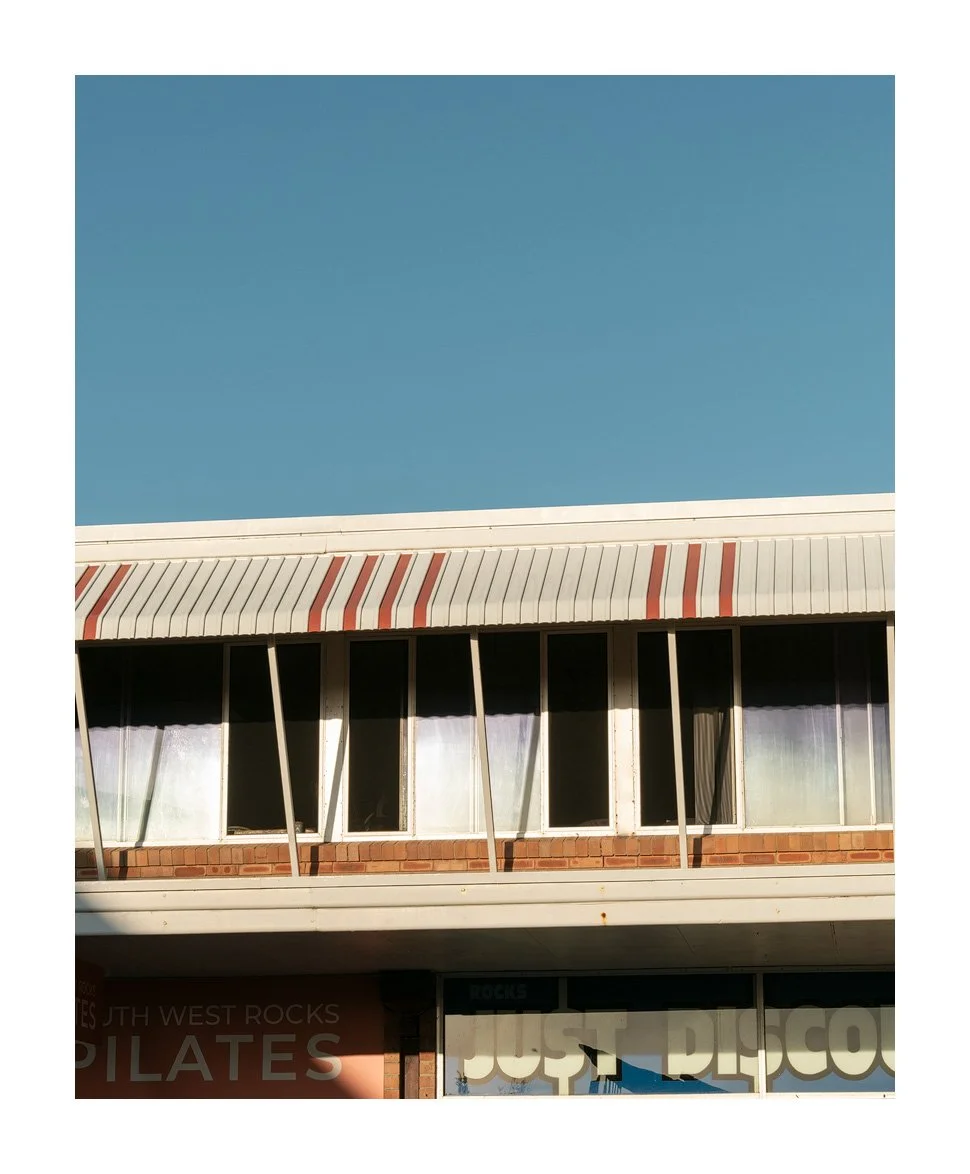
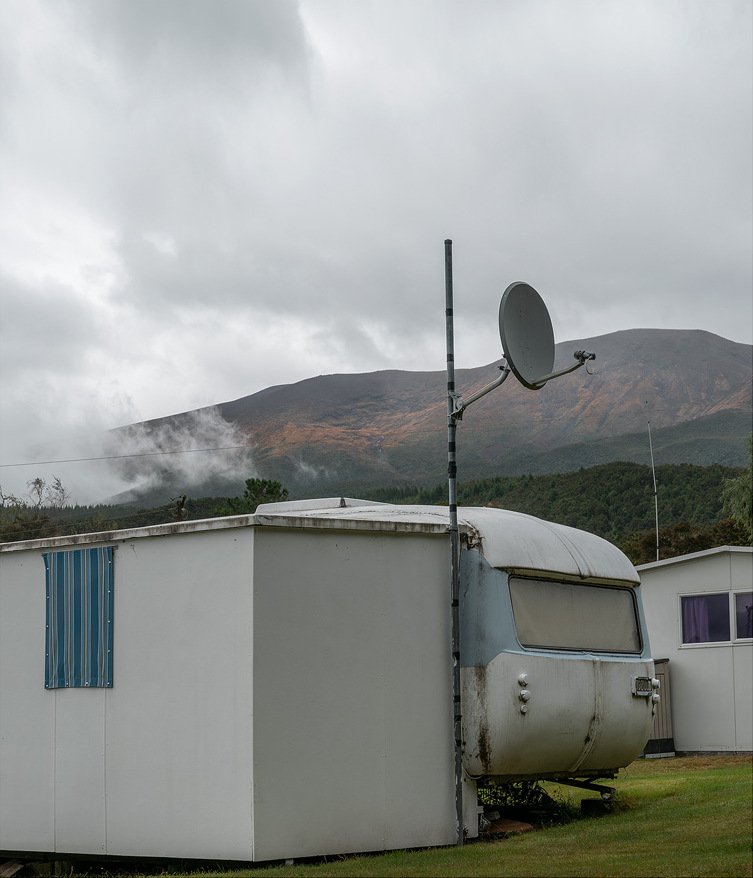
For Xmas this year we headed up with the fam to a caravan park in South West Rocks, about halfway between Sydney and Brisbane. South West Rocks is the quintessential Aussie coastal town, so I did my best to try and capture some of that breezy summer magic.
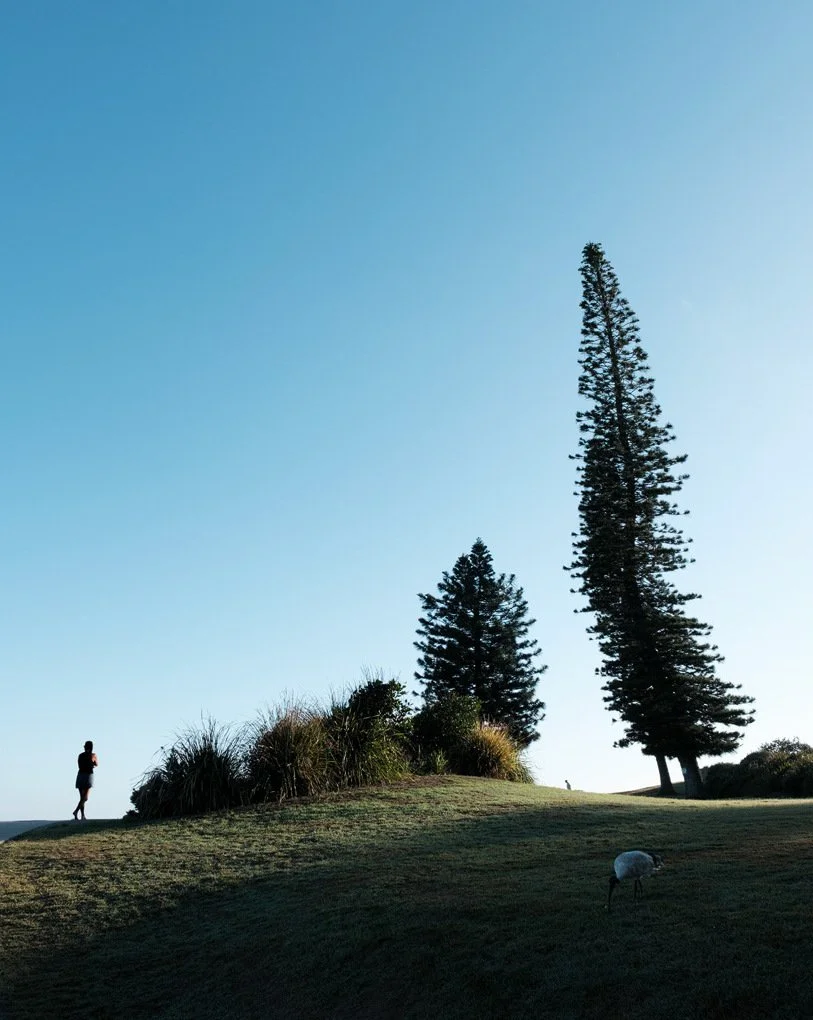
I’m a big fan of this shot with its bendy tree, cool morning light cutting across the hill, the jogger, the ibis and the man walking his dog. It’s everything coastal Australia.
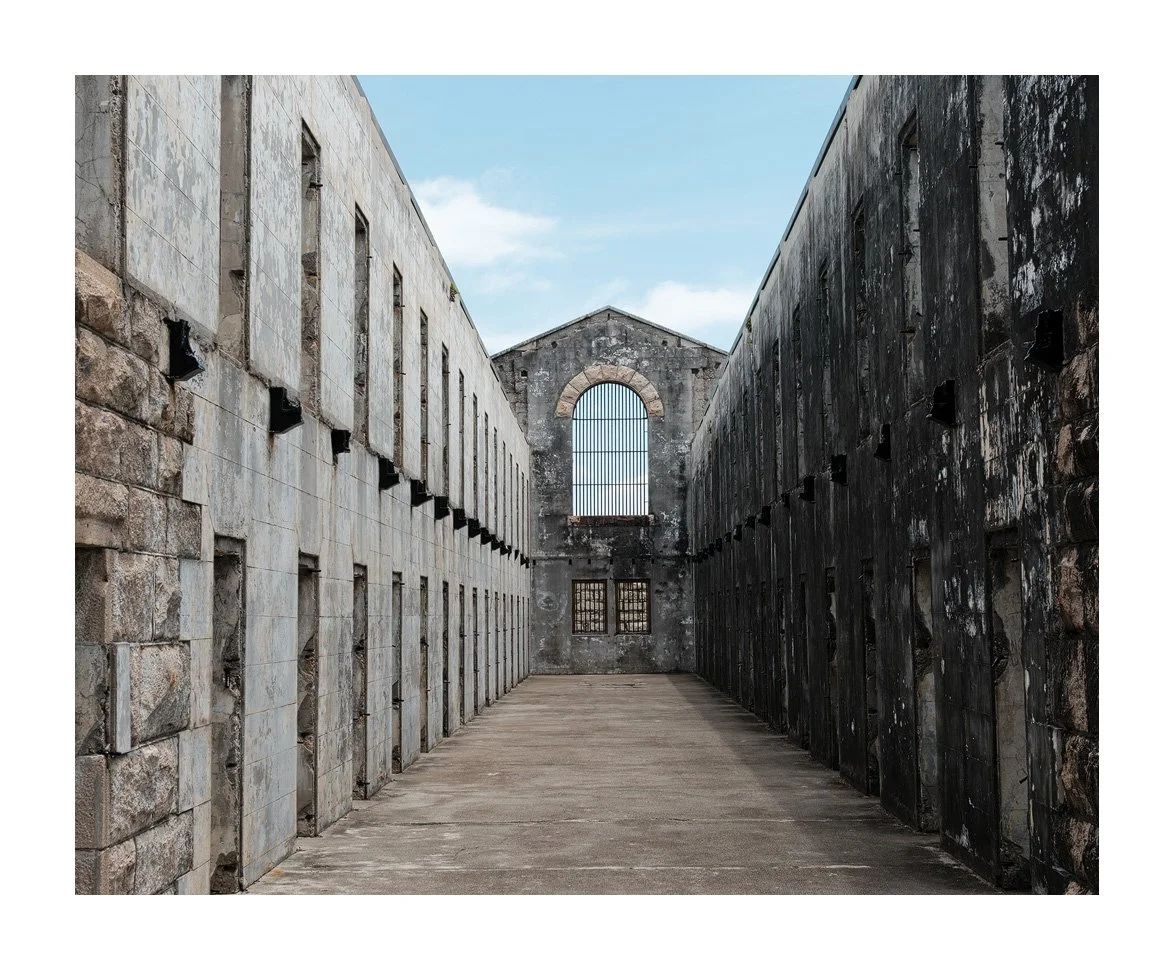
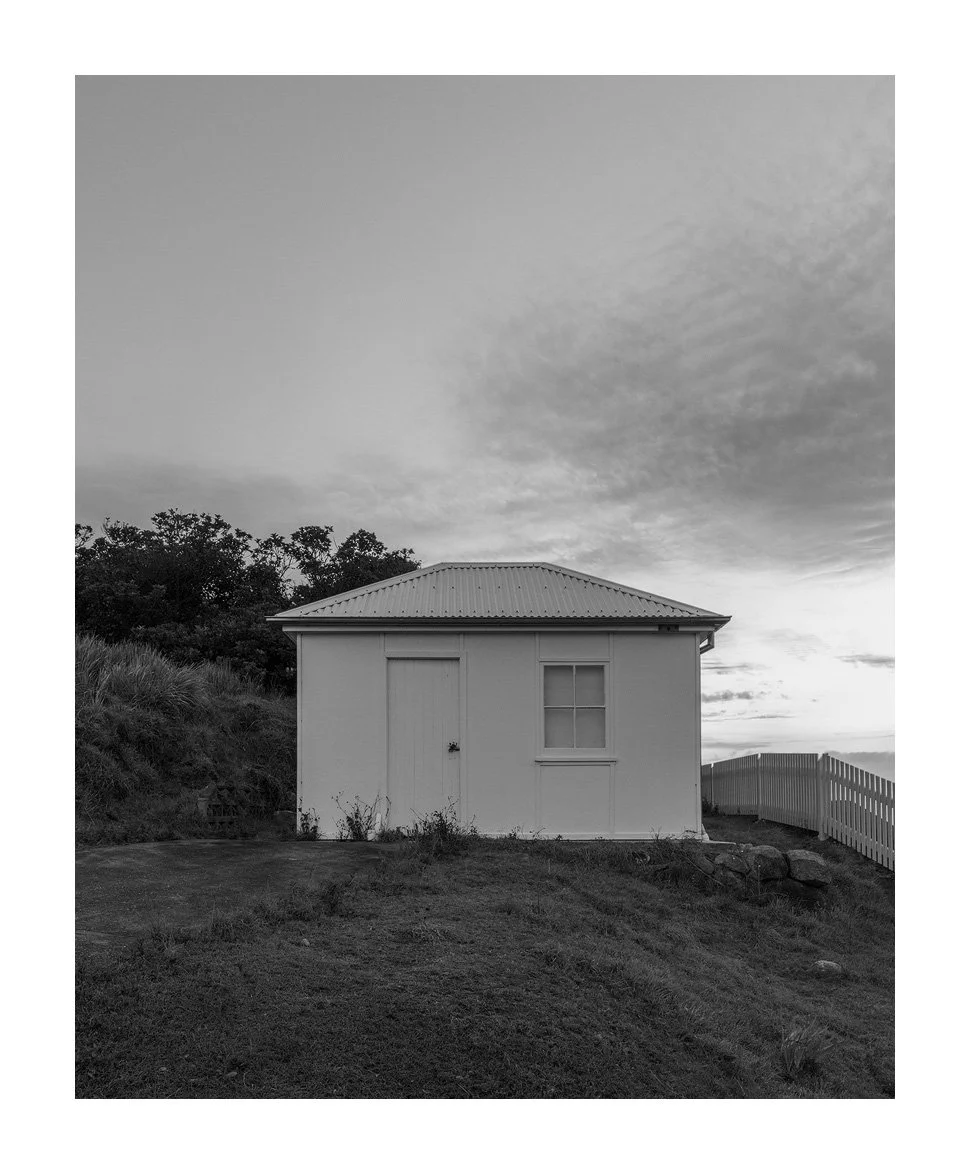
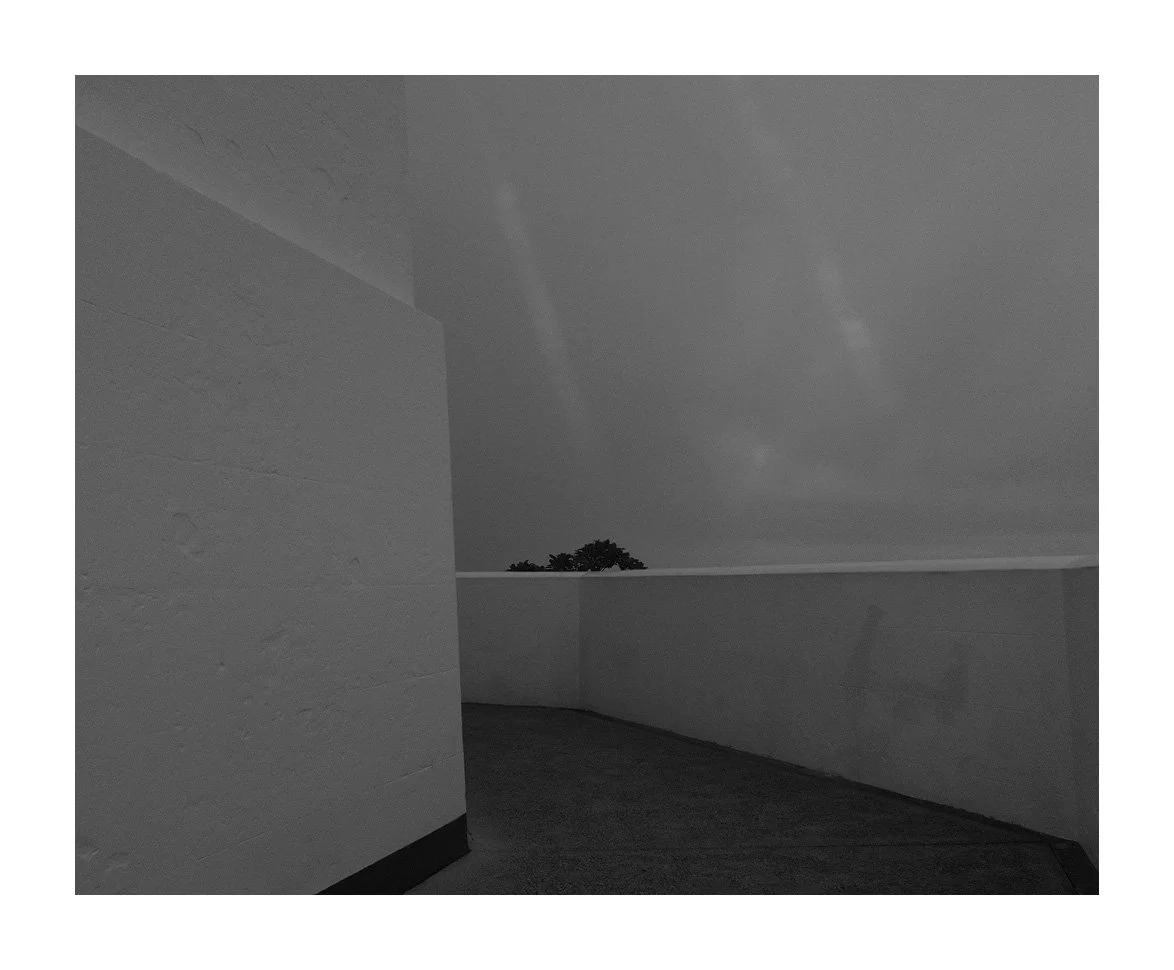
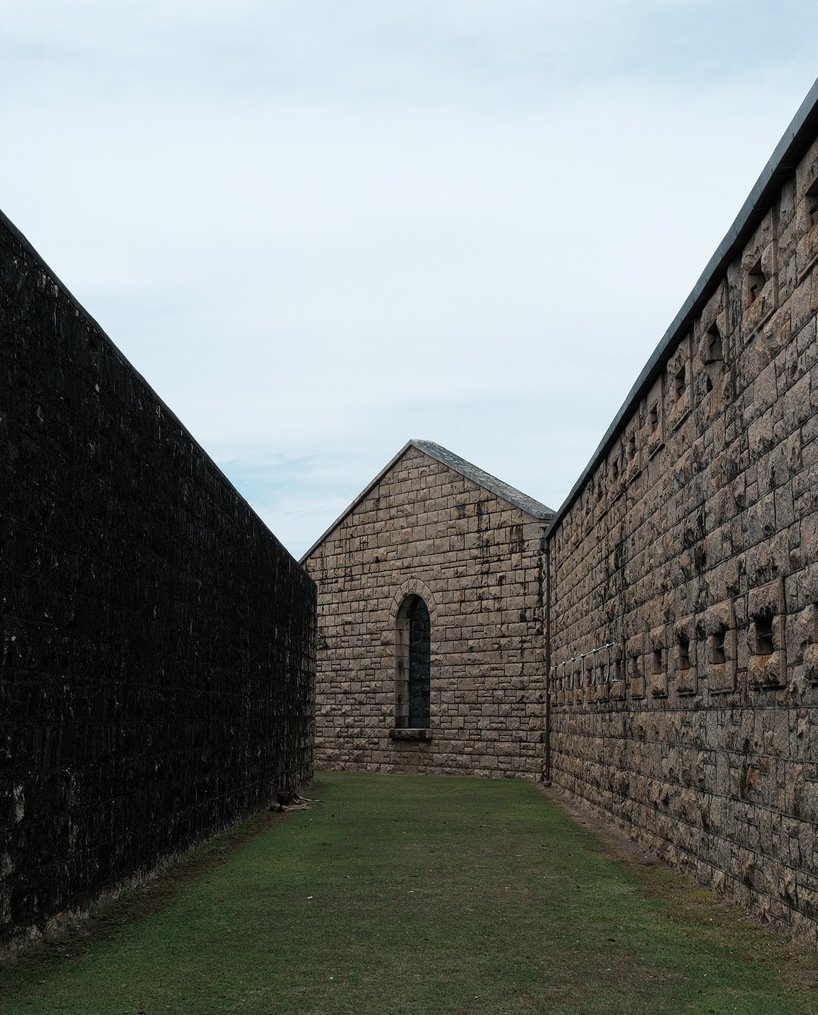
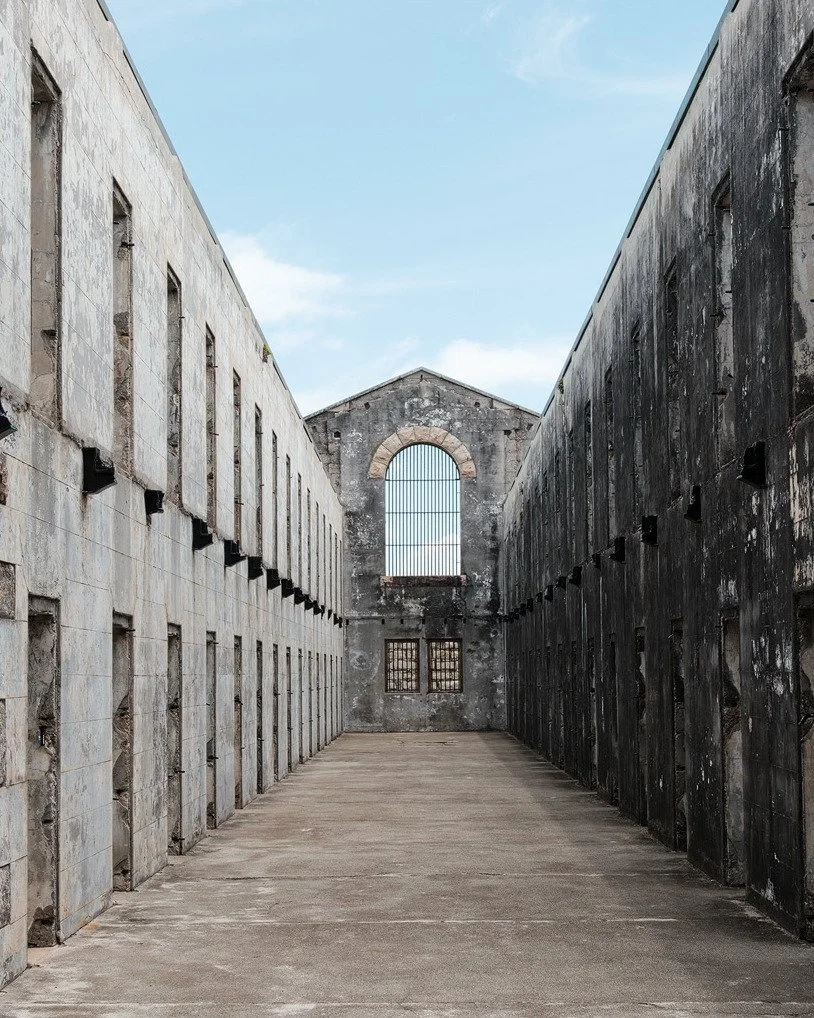
The South West Rocks region has a couple of historical drawcards, notably the Smoky Cape lighthouse and the Trial Bay Gaol. I had visited the goal when I was a kid and was pleased to find the government had poured a bunch of money into restoring and improving facilities around it. Yes, you do have to pay an entry fee, but I think it’s a small price to pay for keeping this slice of history open and in good condition.
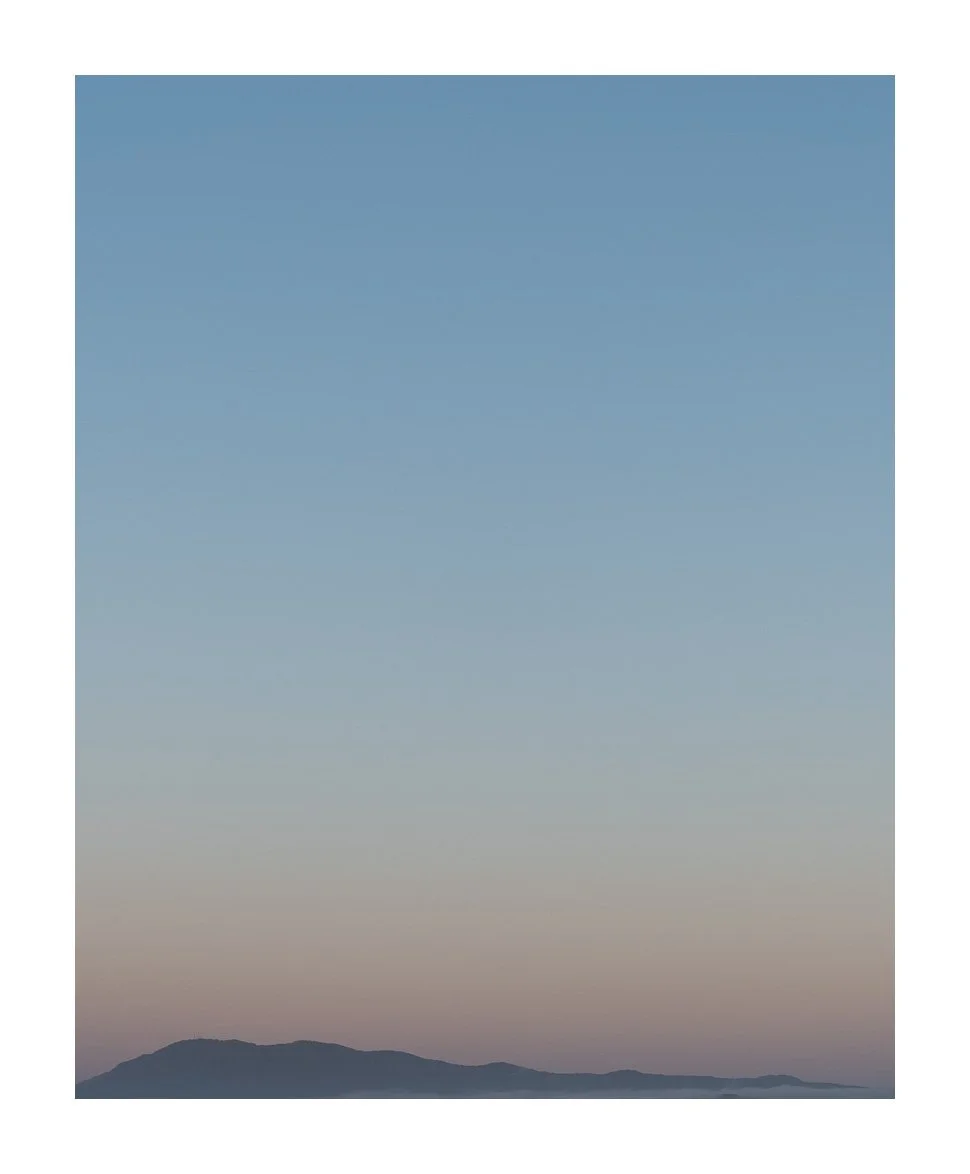
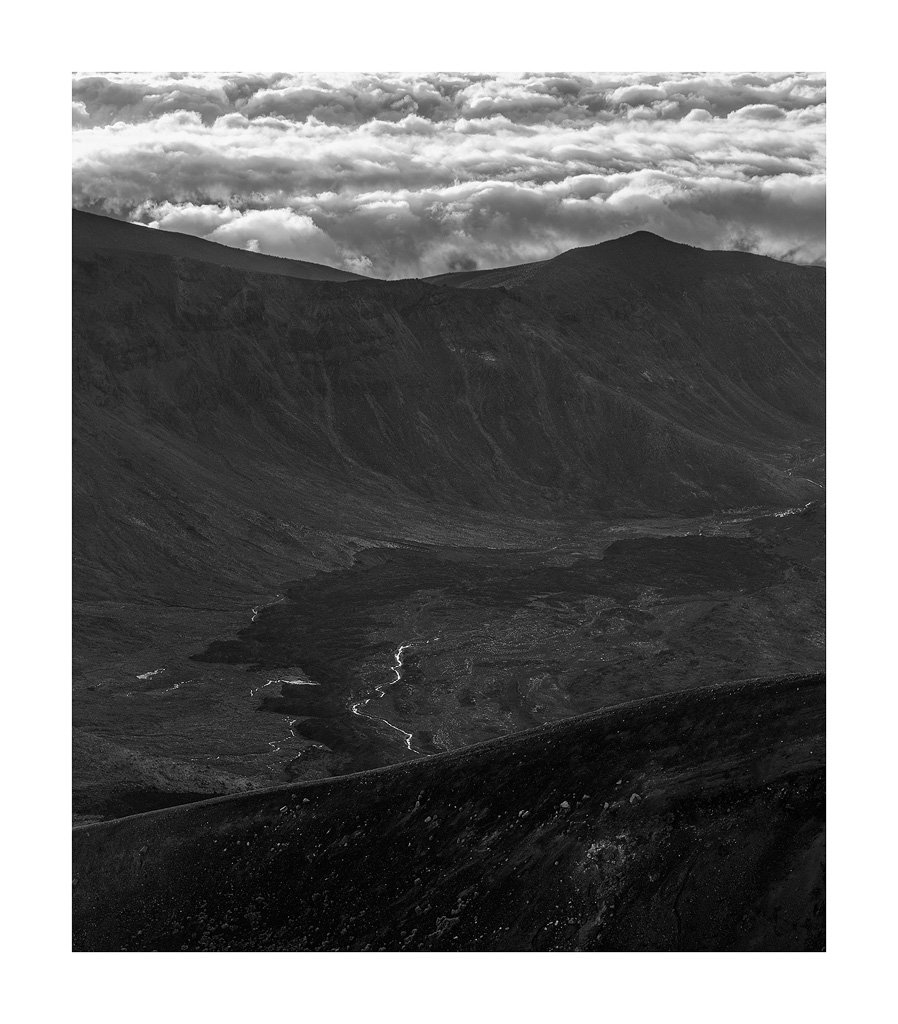
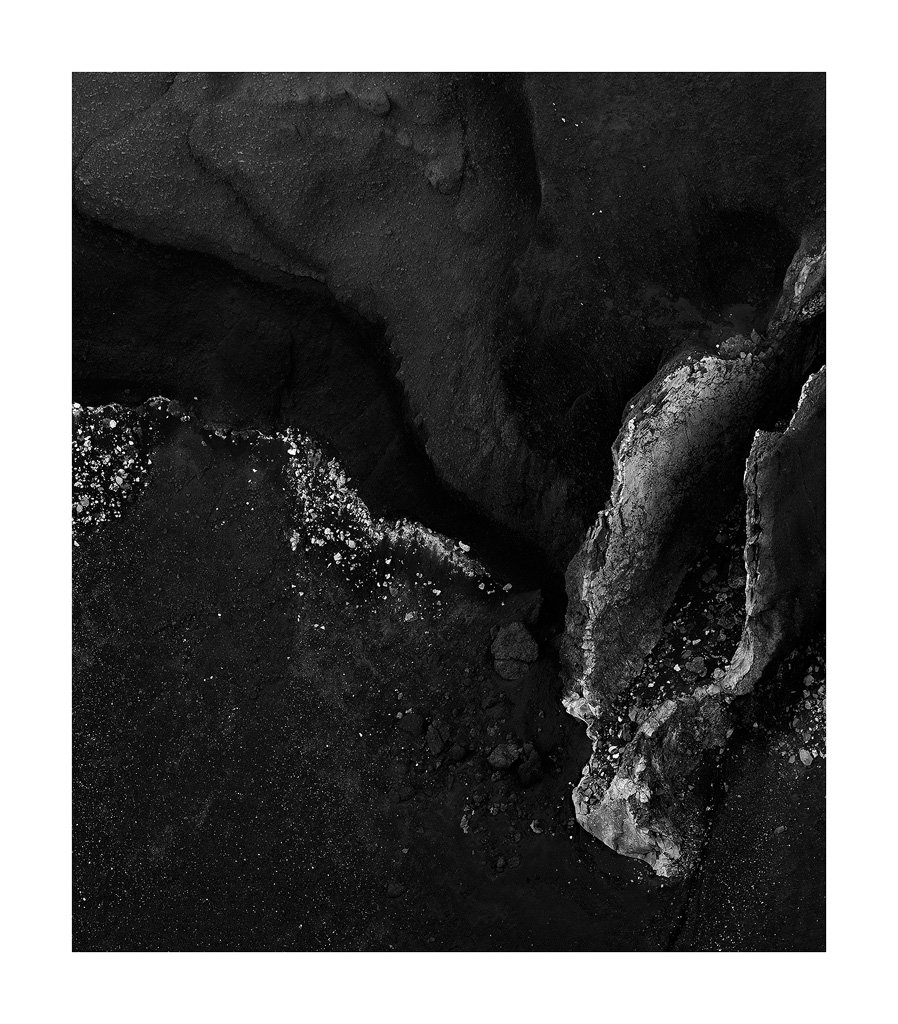
There’s a rather ominous feeling walking through the cells and structures. It must have been a tough life out here back in those days. I tried to get this feeling of isolation through in my images. For those visiting, be sure to head up the top for a killer view over the ocean.
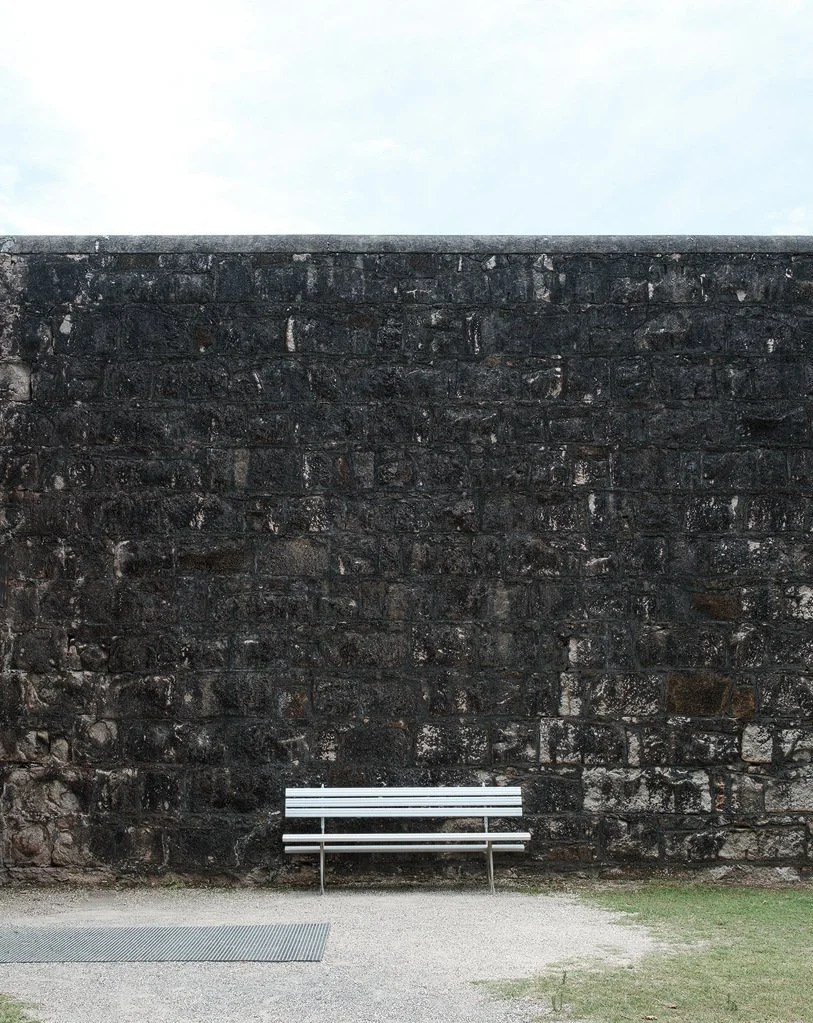
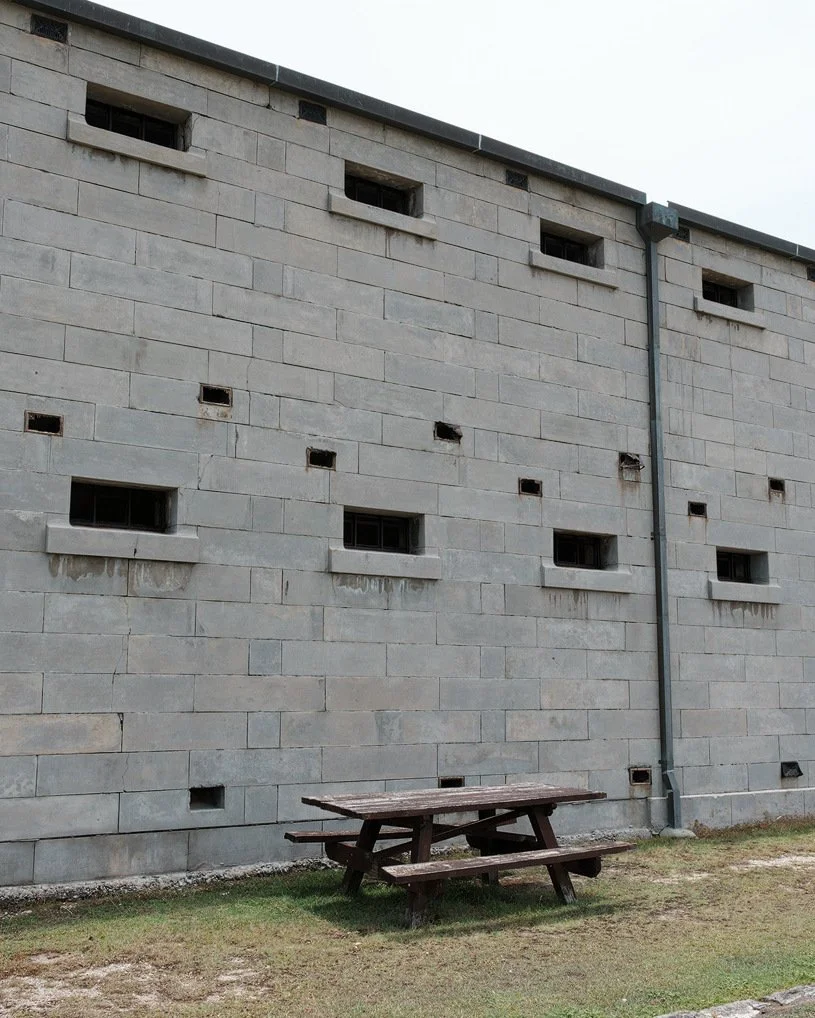
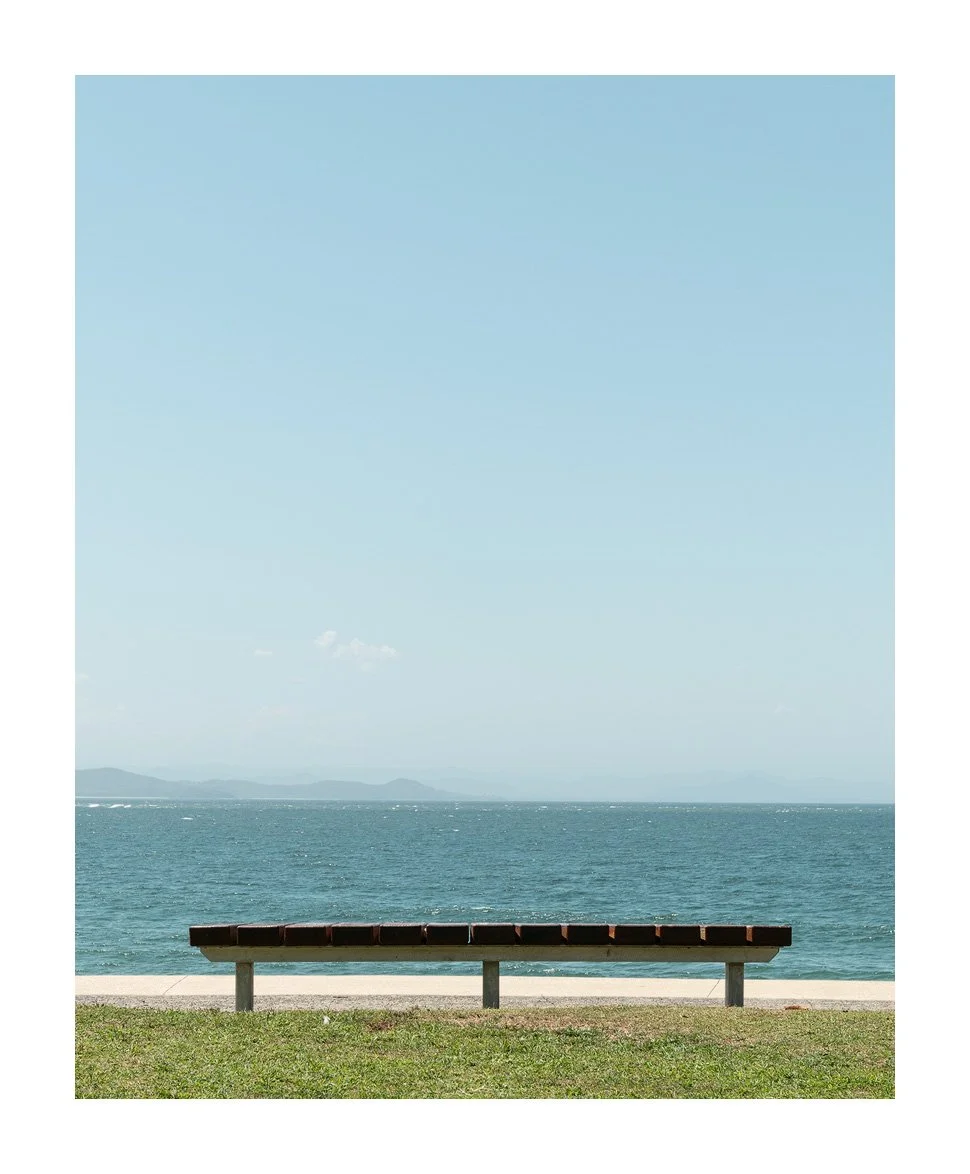
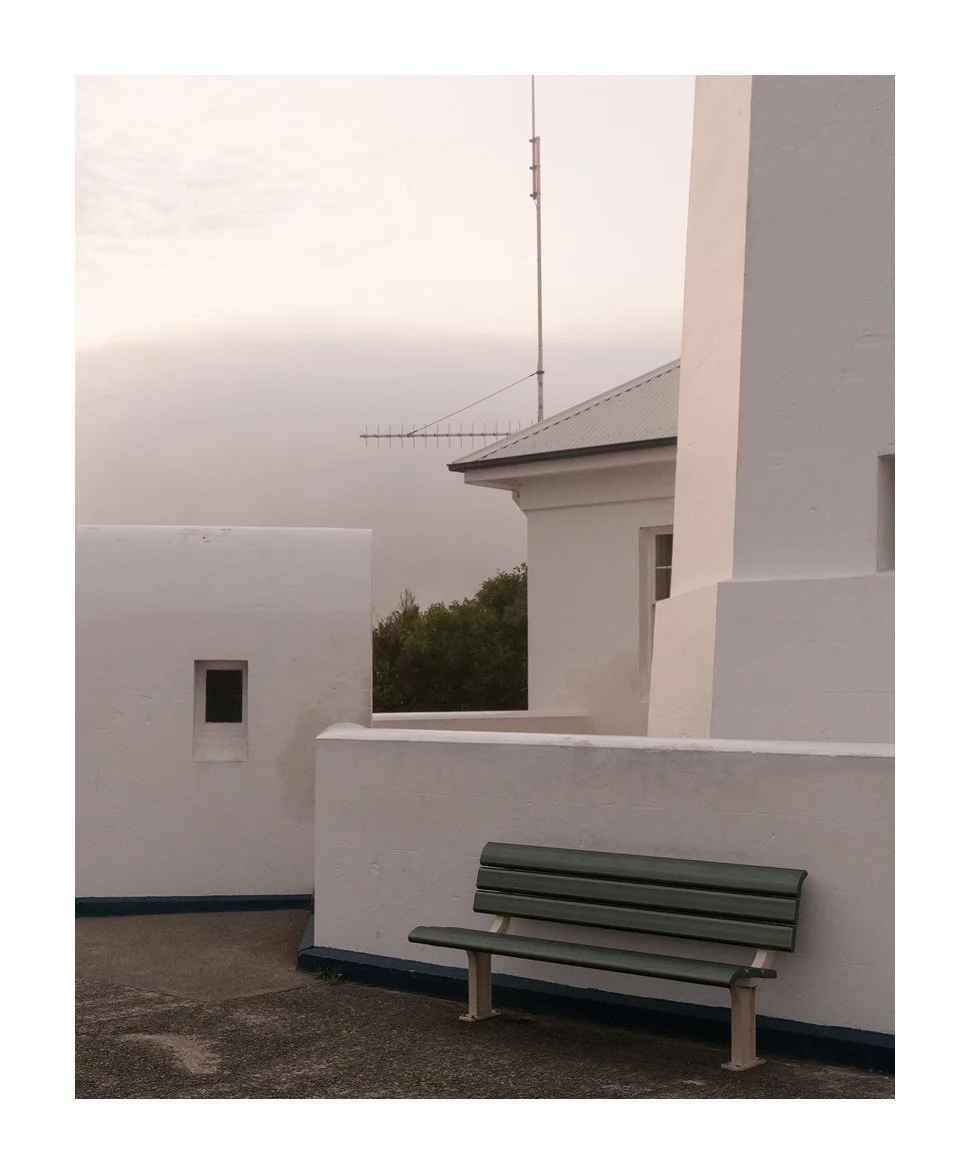
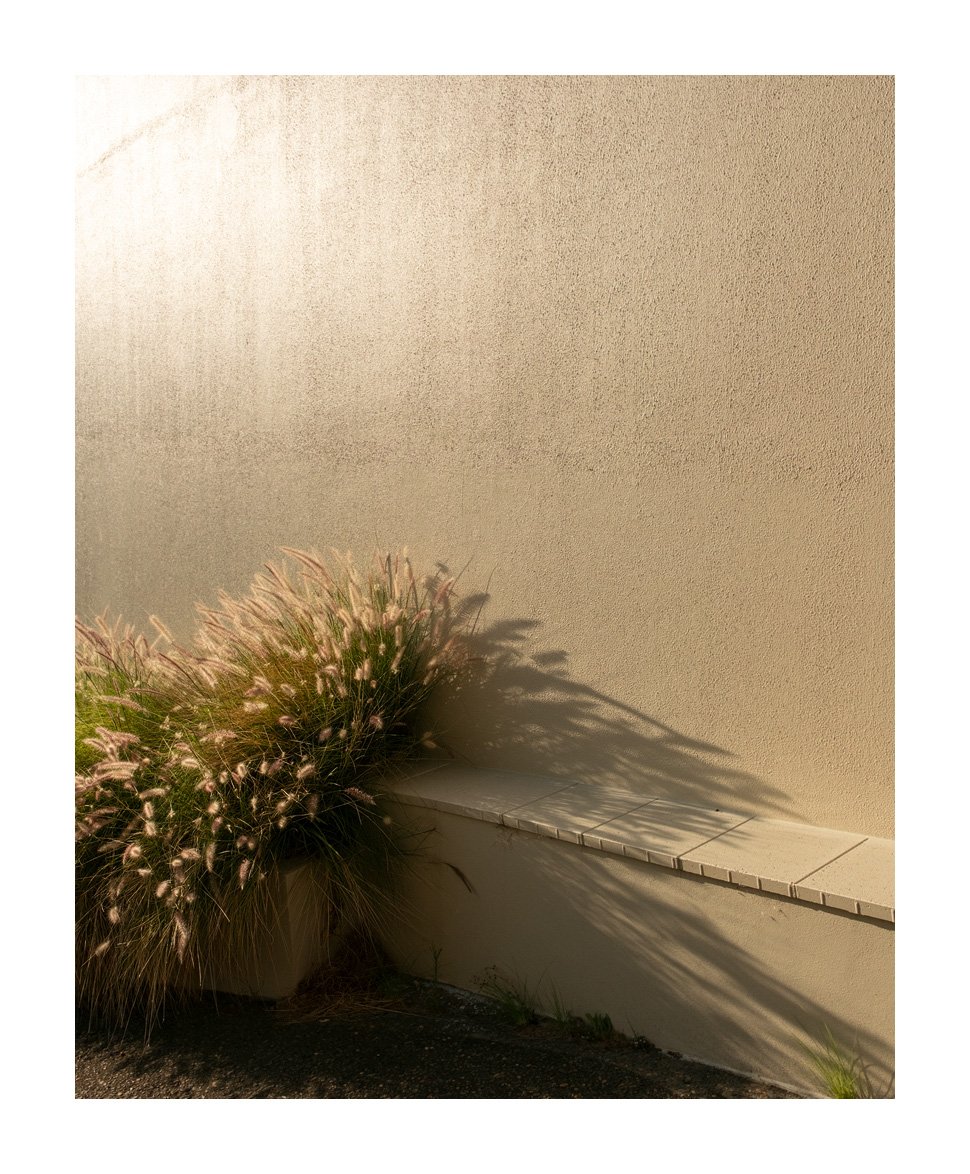
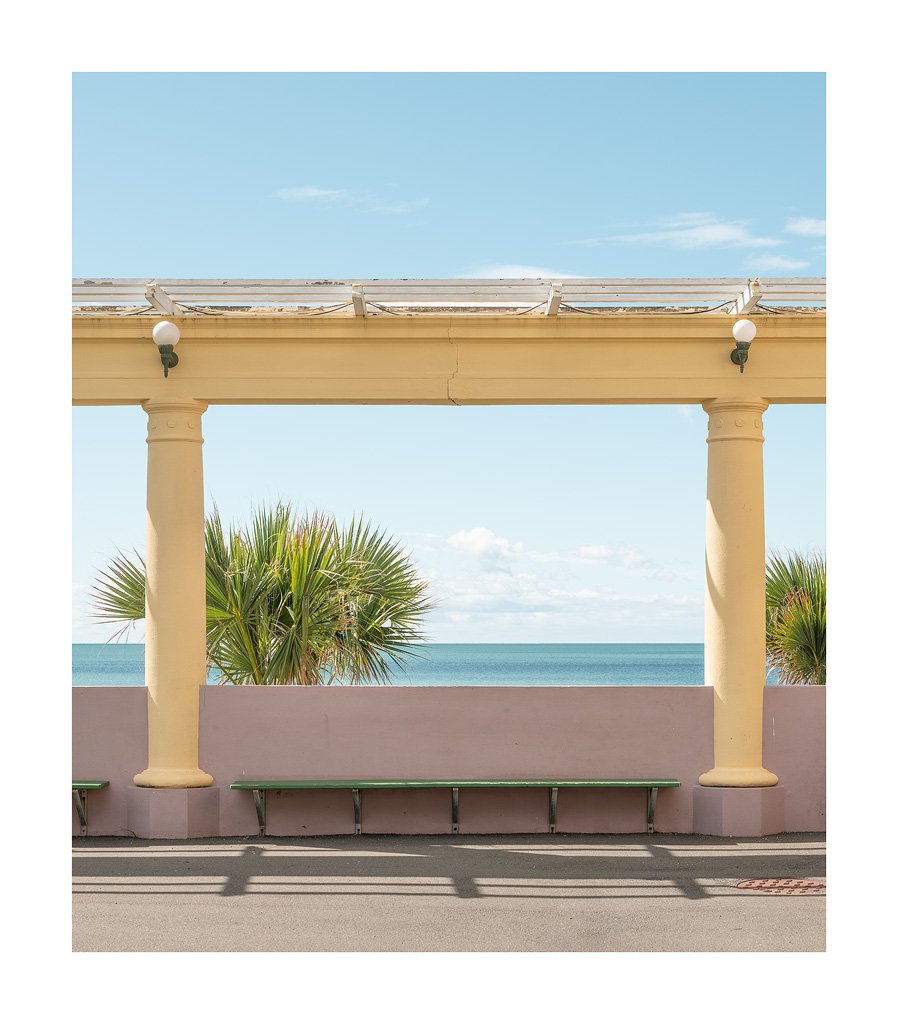
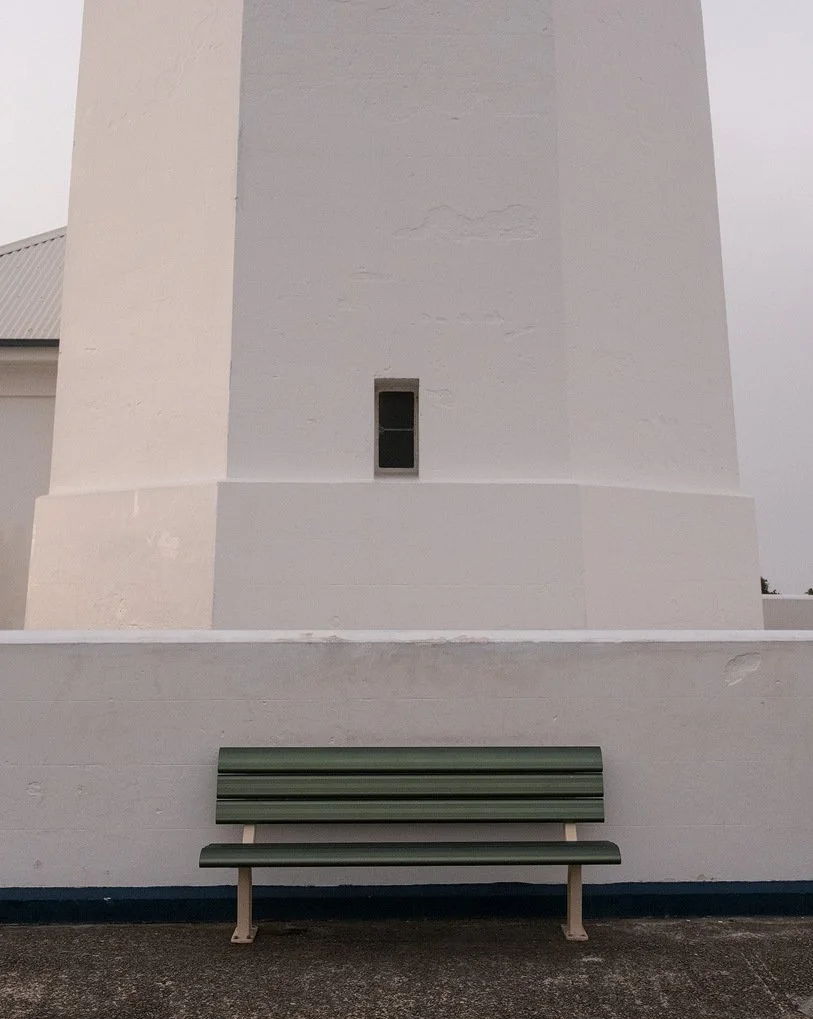
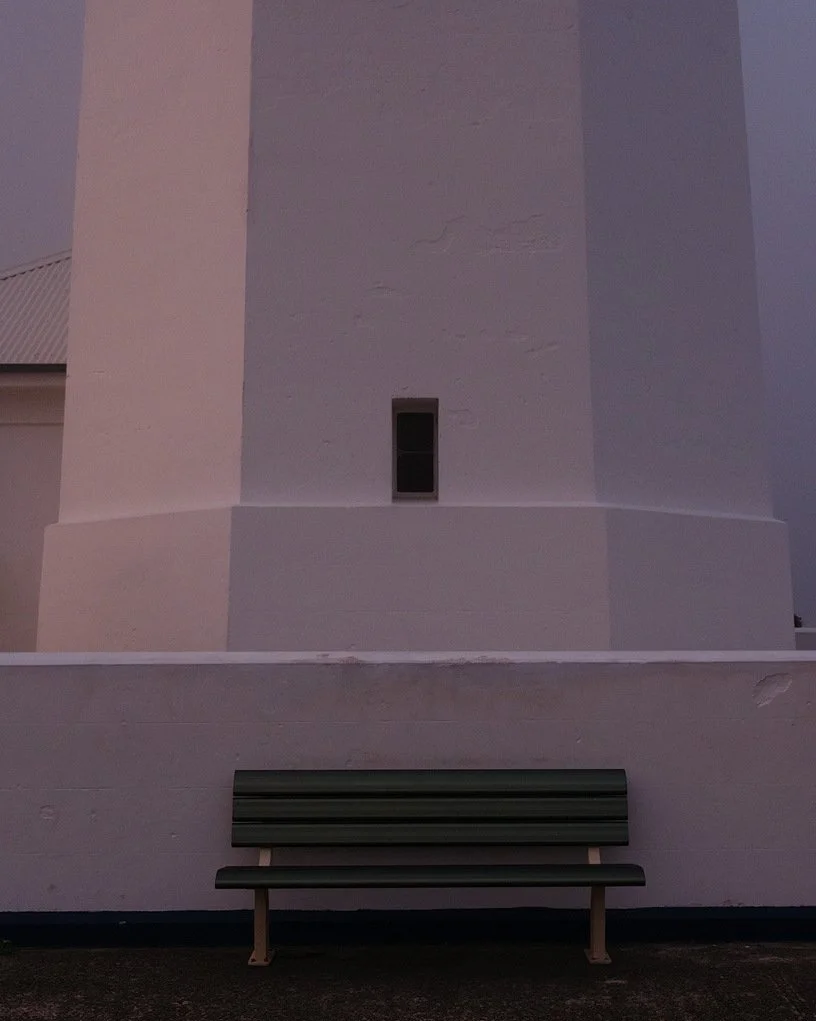
As per the above, I could well do a series on seats I’ve taken over the years, even picnic tables. It’s funny how these subjects are emerging as what I tend to gravitate towards.
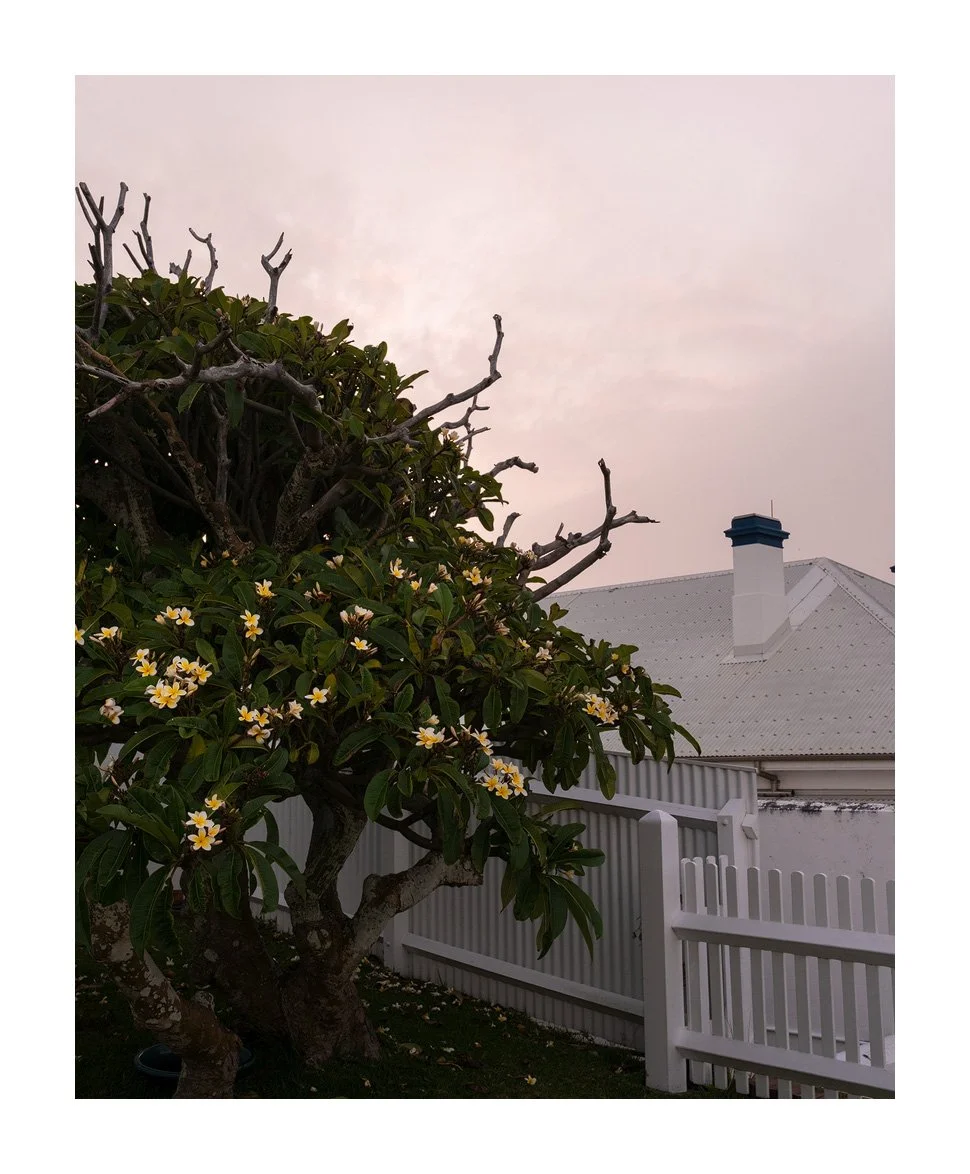
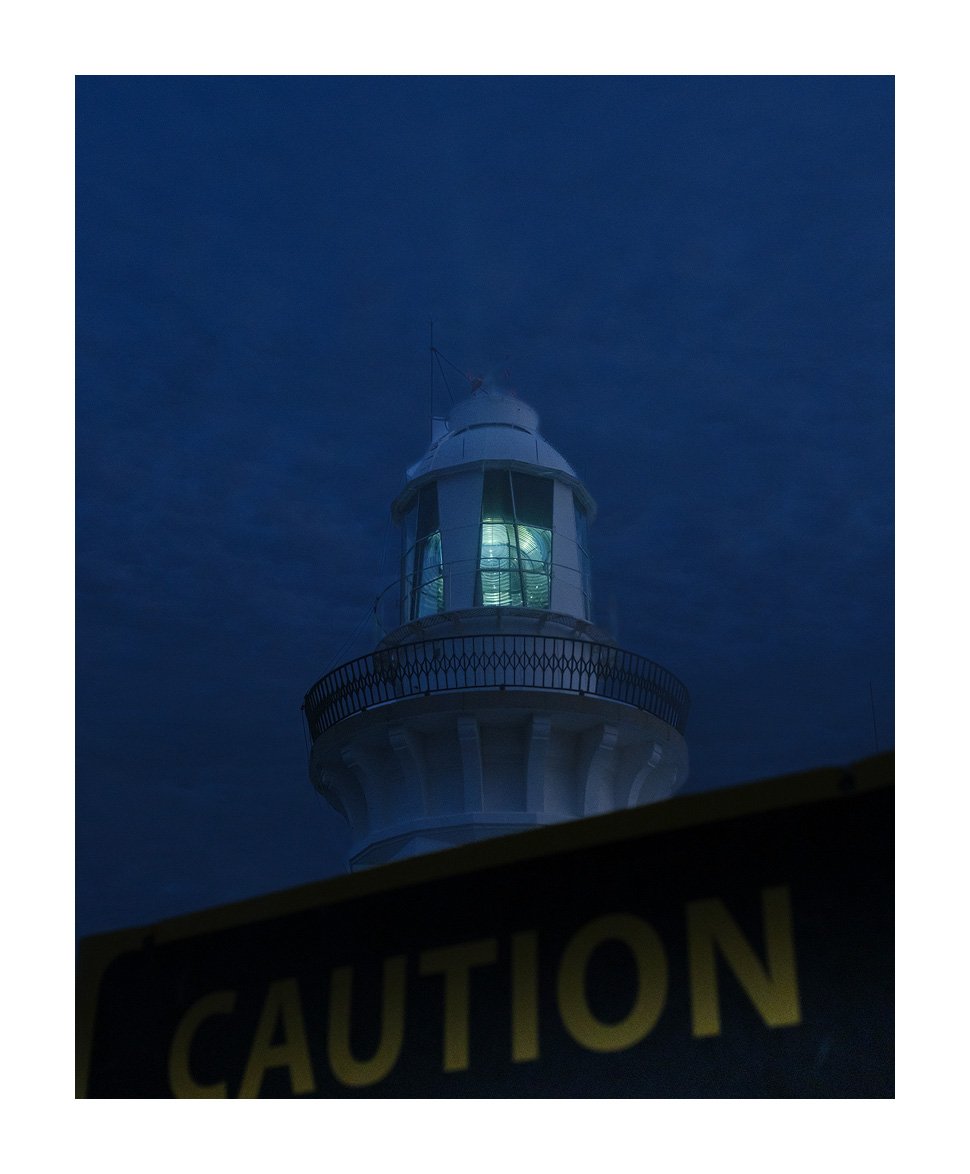
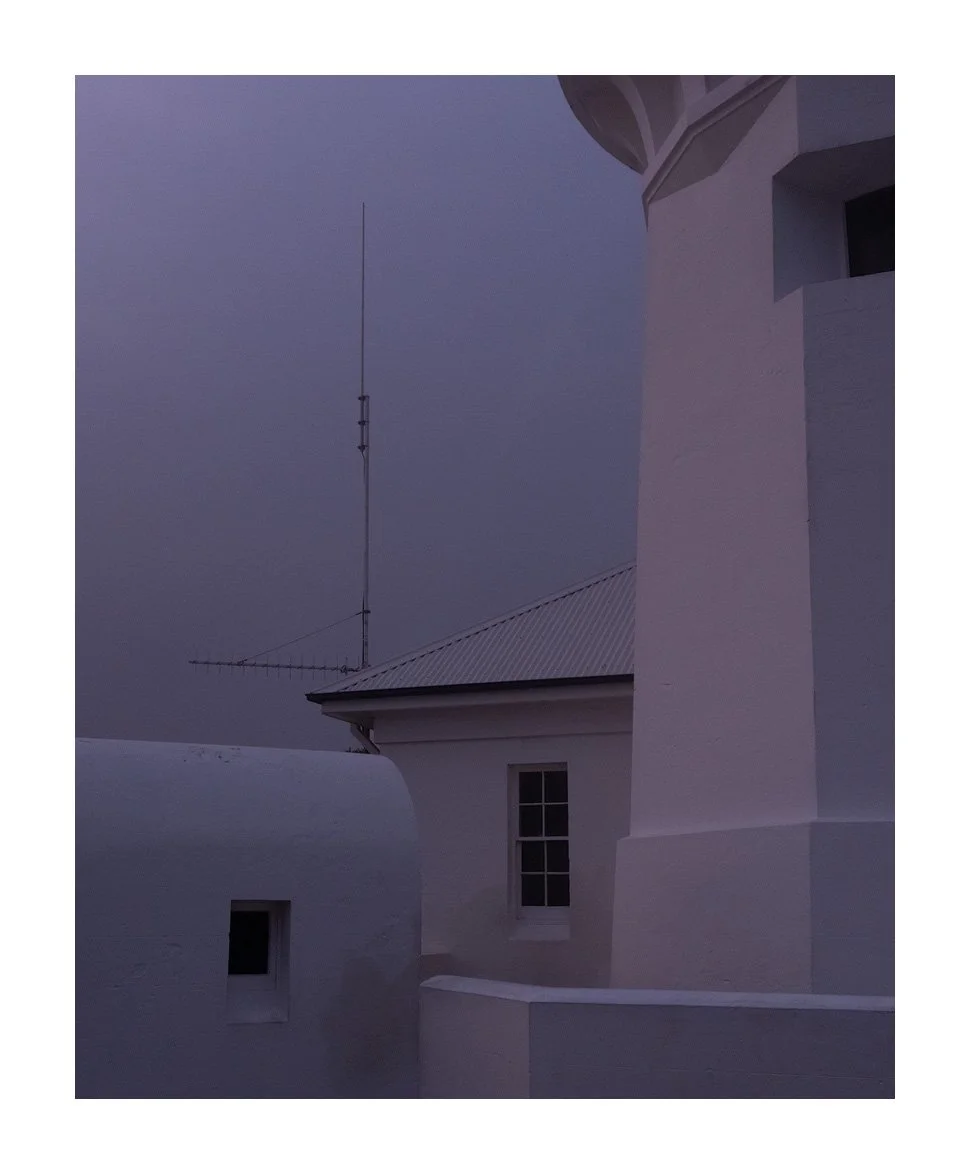
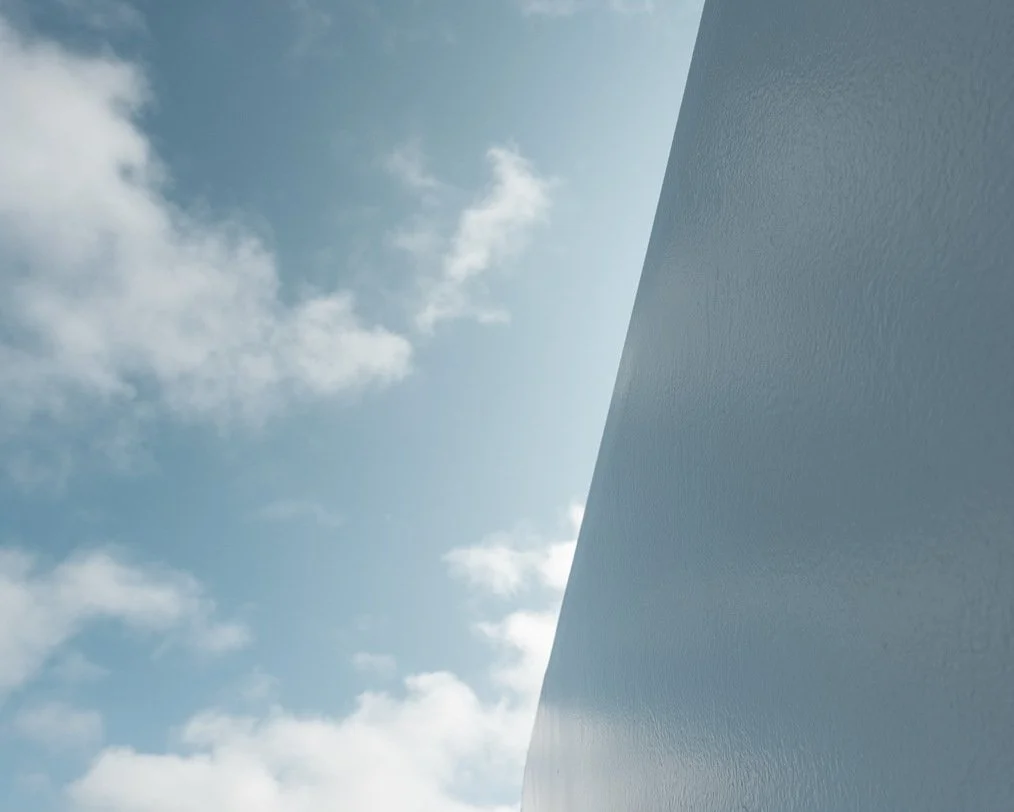
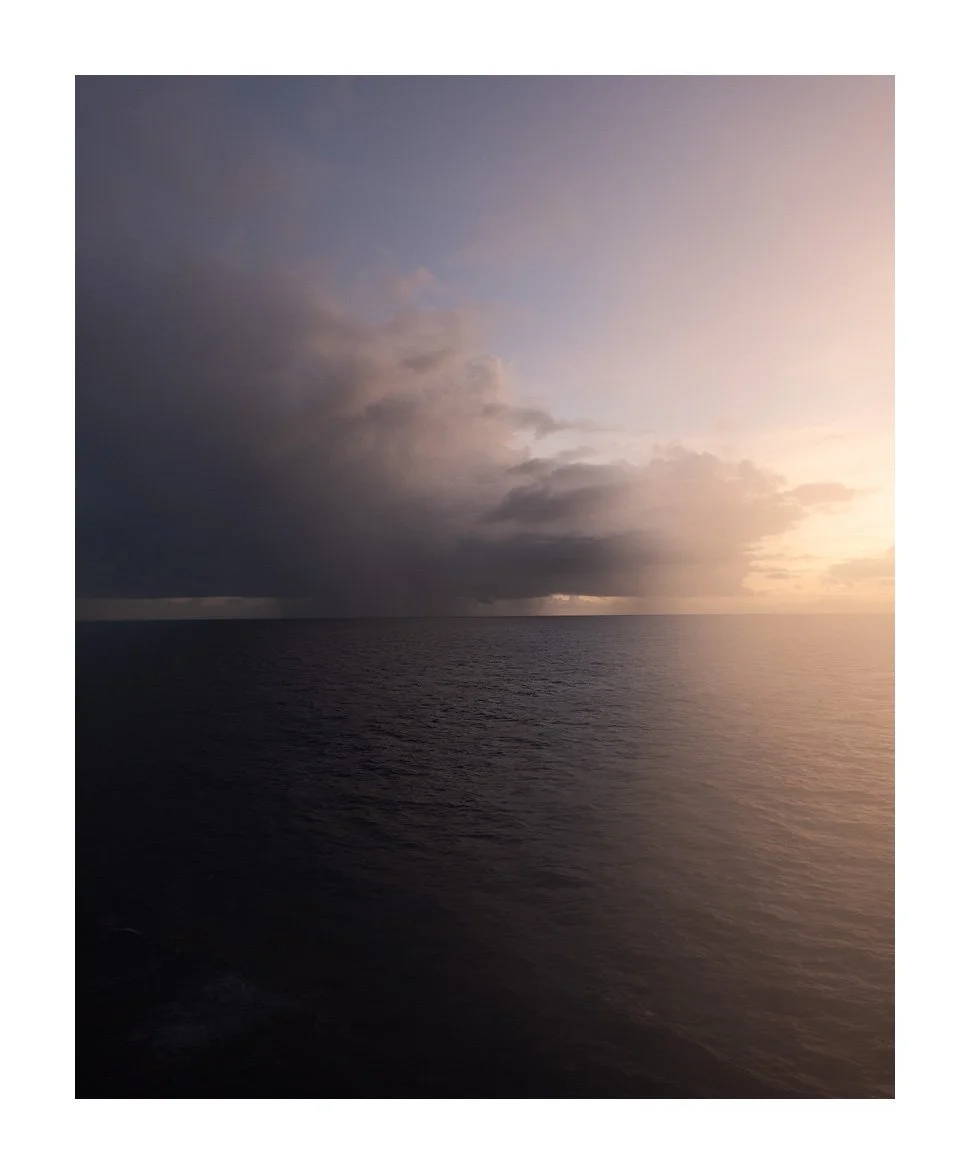
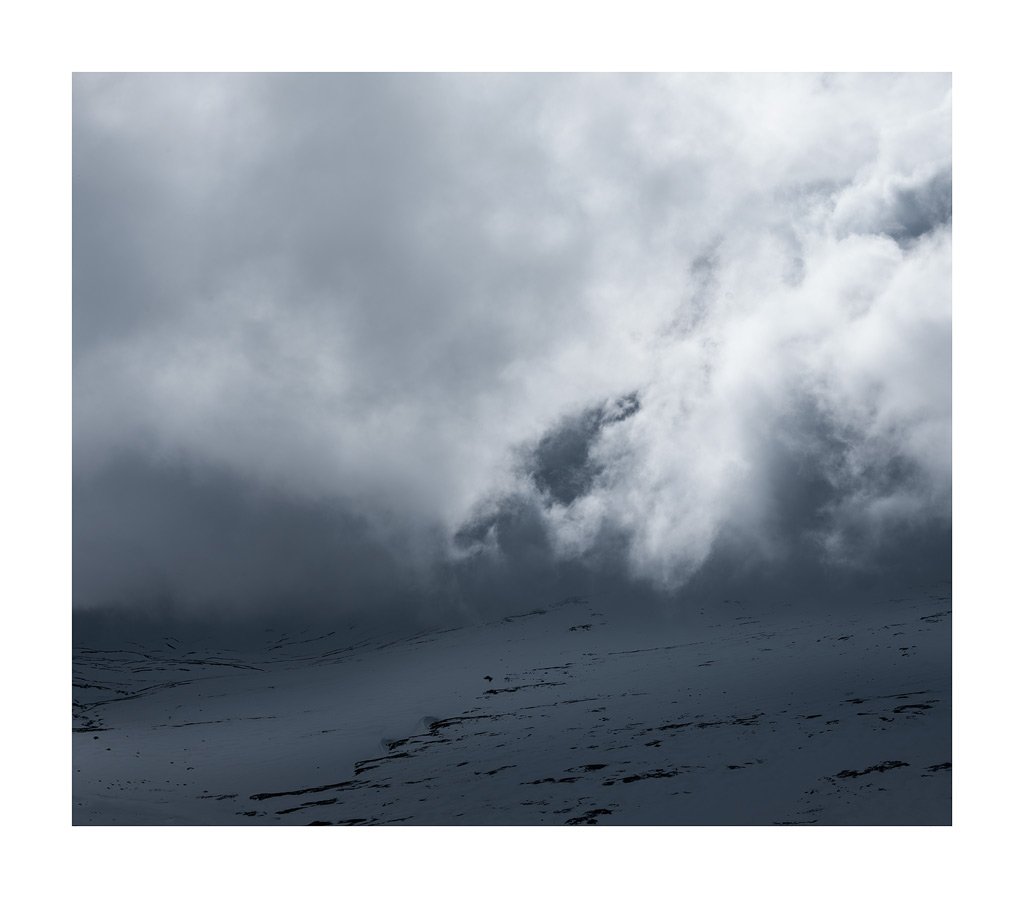
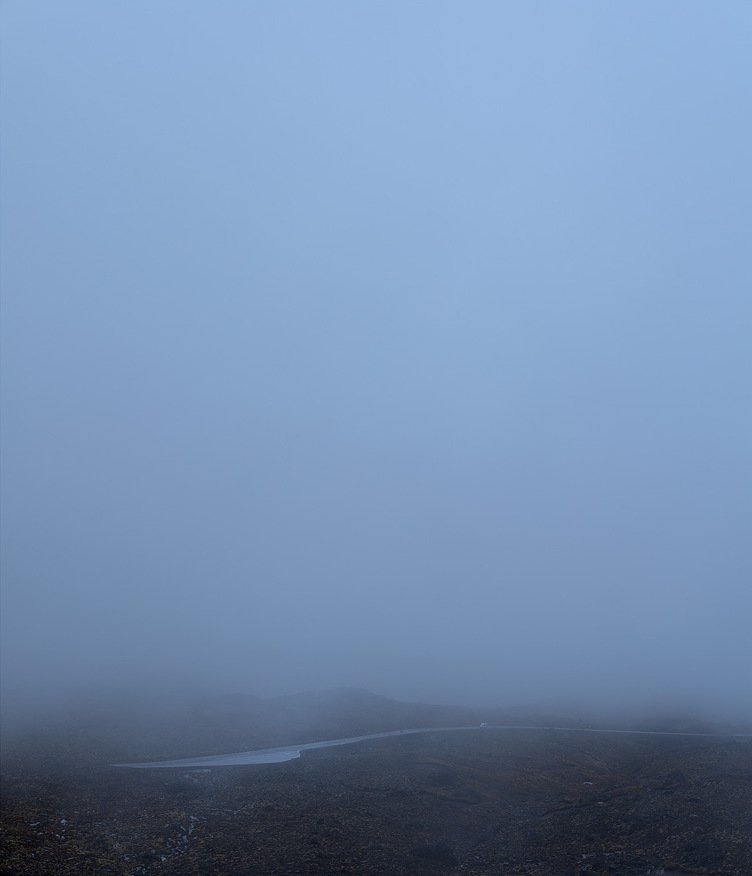
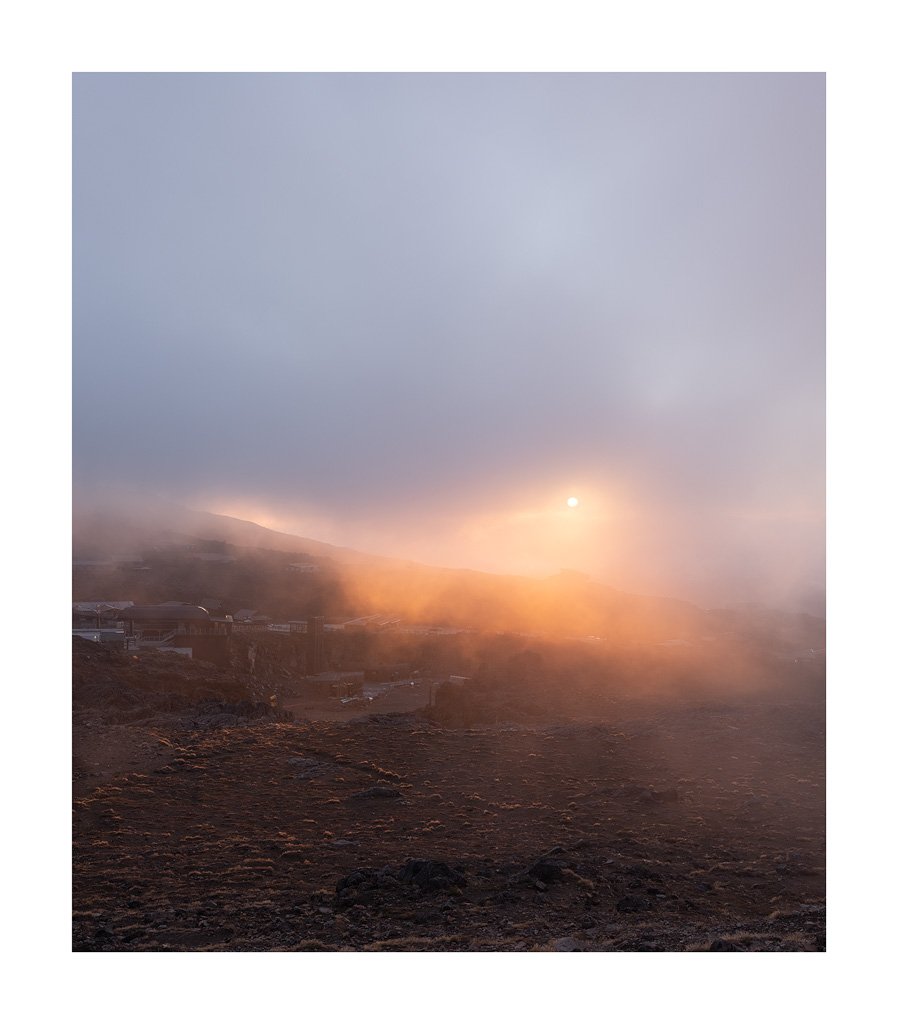
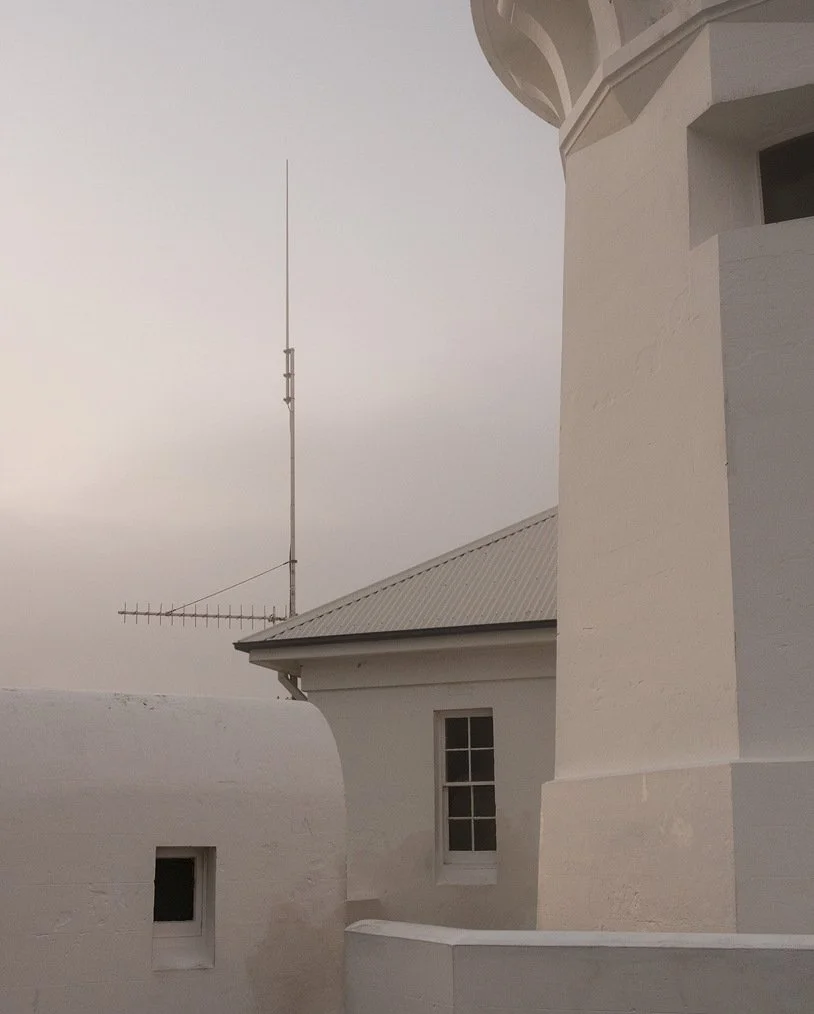
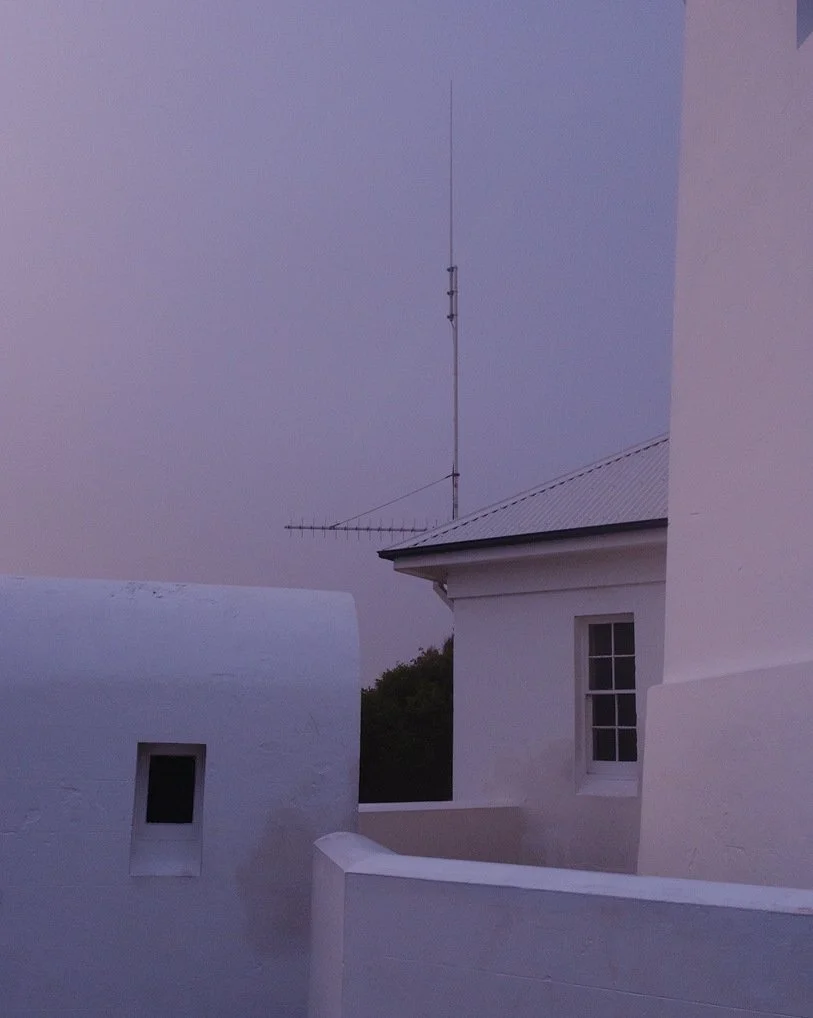
A short drive from South West Rocks proper is the Smoky Cape Lighthouse perched high up in Hat Head National Park. Built in 1891, it’s got some history behind it. I made the trip up alone at sunset, and while I couldn’t go inside the lighthouse itself, the whole headland was enveloped in sea fog, which made for very mysterious and atmospheric conditions up there. And yes, the view is something to behold. I spent a lot of time up here, because as lighthouses go, this one is especially photogenic.
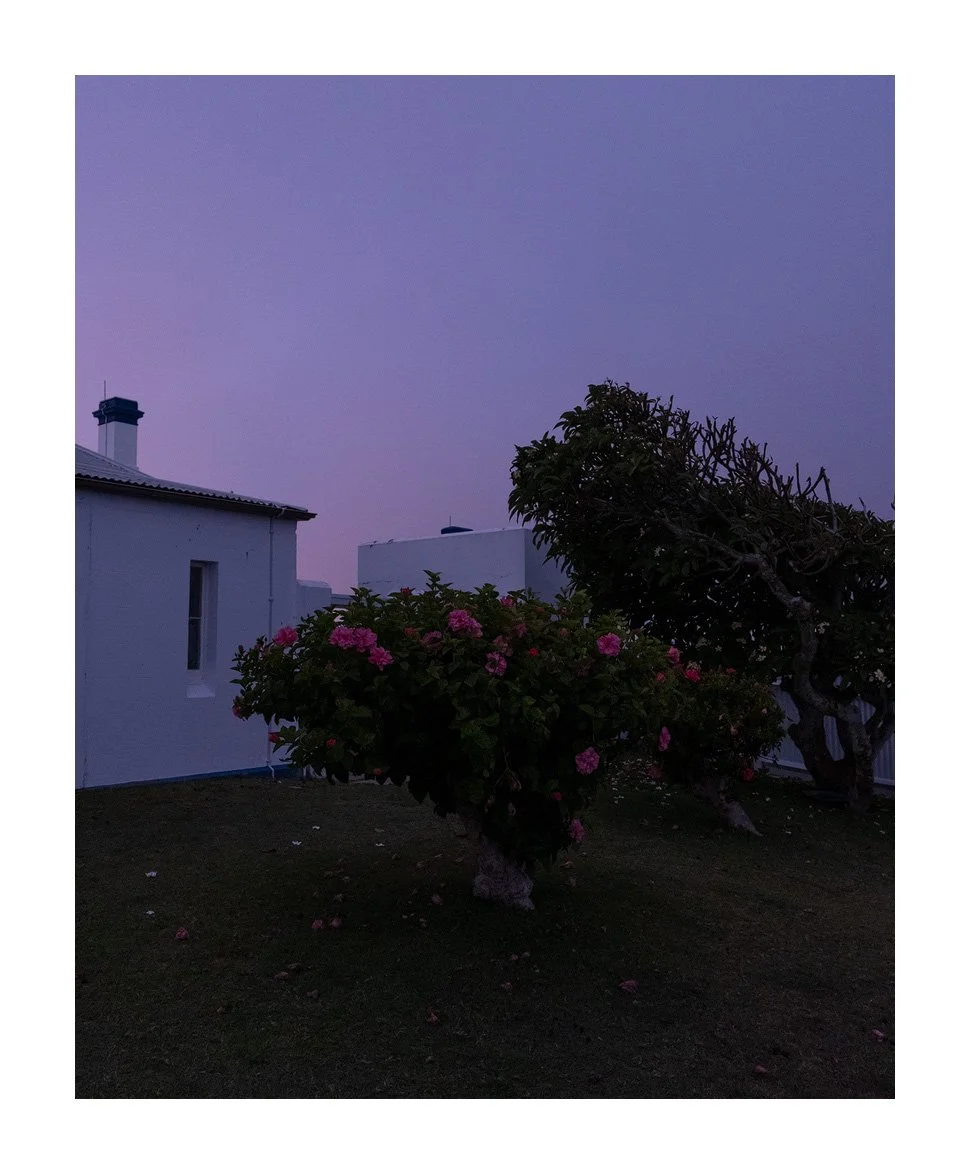
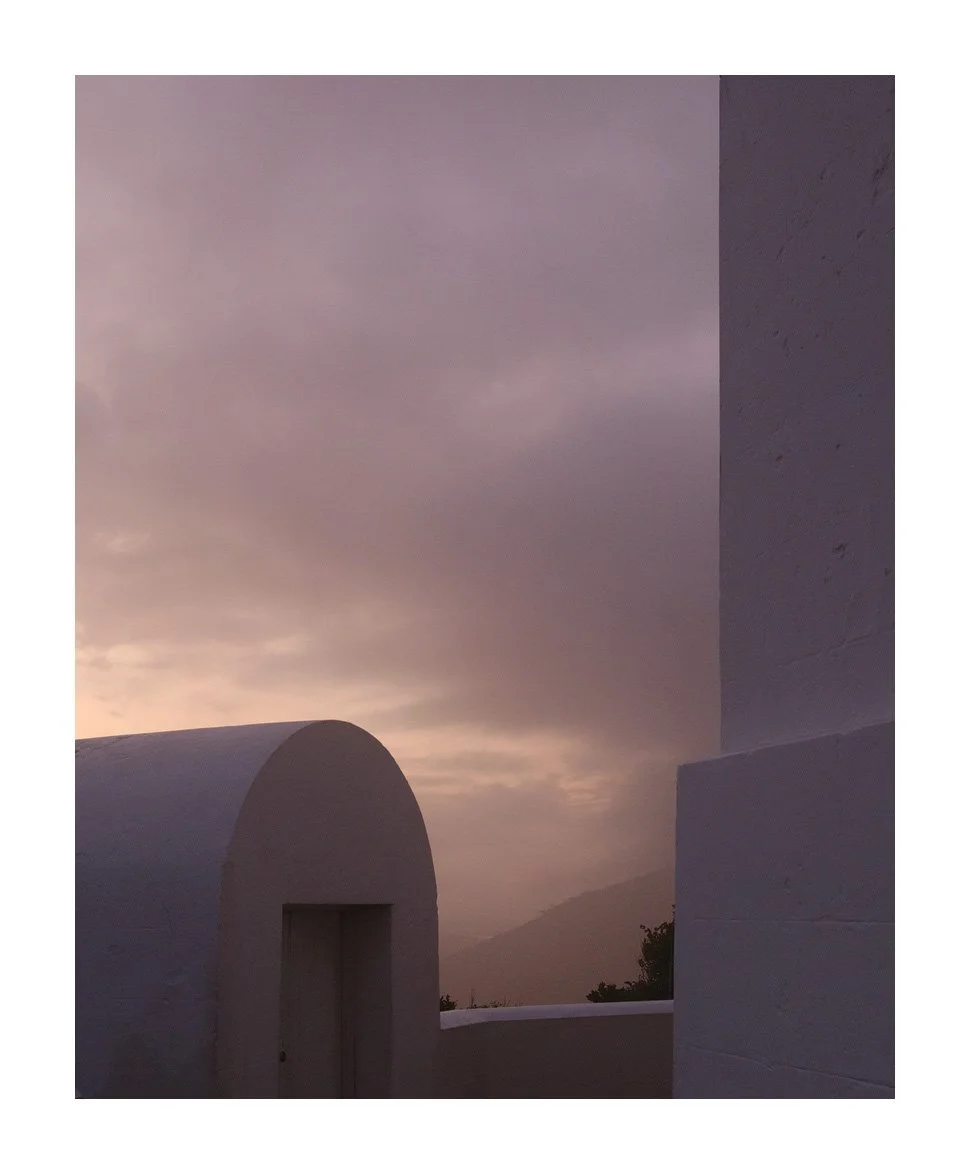
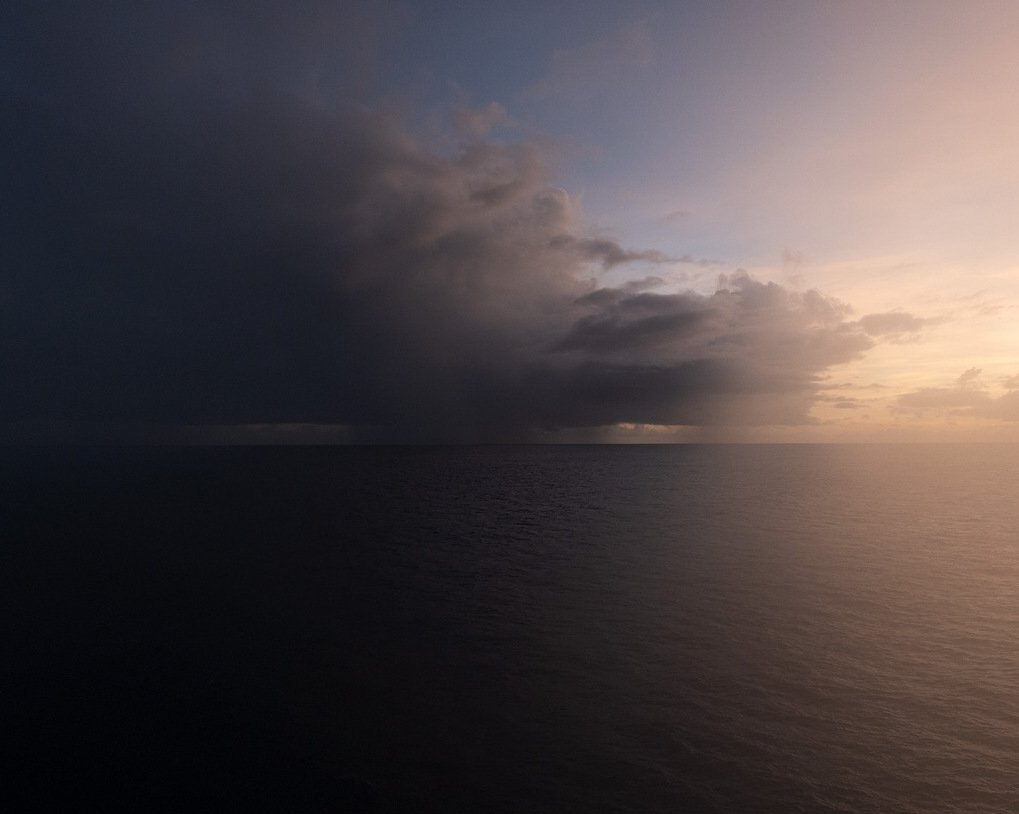
It was interesting watching the light change, as you can see here below, moving from the foggy light to the pinkish hues of sunset. I actually don’t know which I prefer. What do you think?
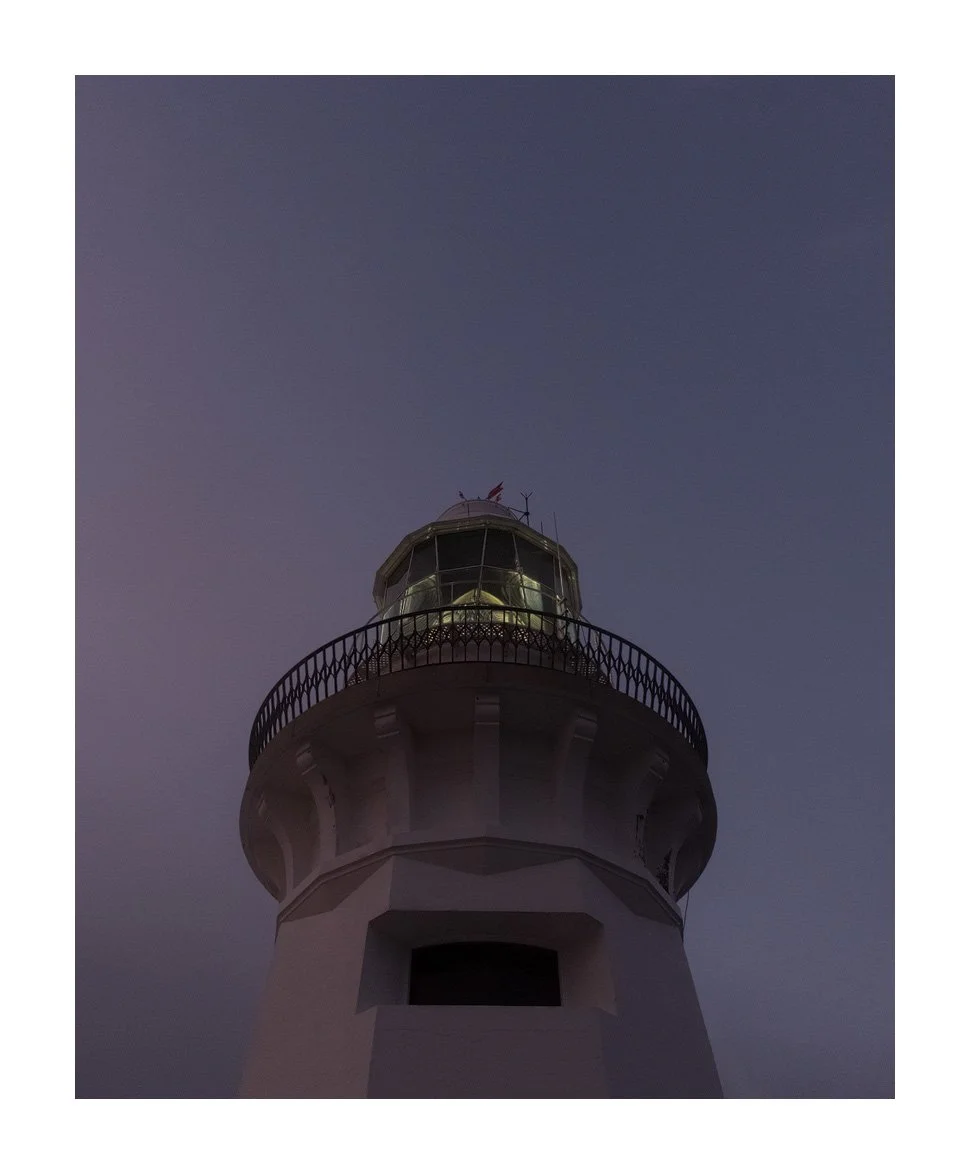
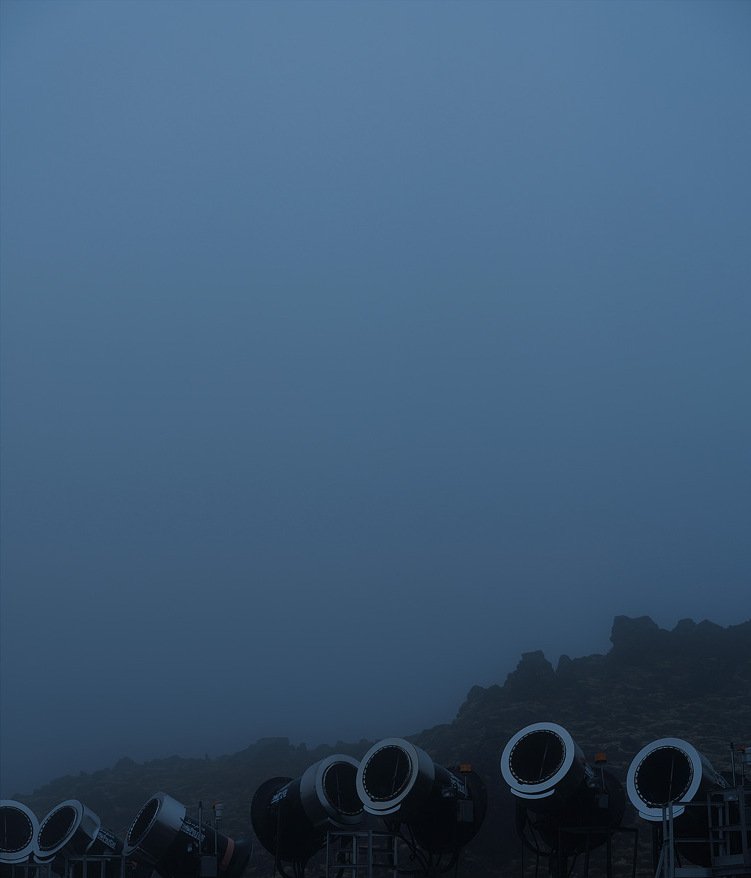
I stayed up here until the natural light was gone and the beams of the lighthouse shone through the sea fog. If you’ve ever seen The Lighthouse, you will know how mesmerizing that can be. No mermaids, though.
It’s possible to stay in cottages near the lighthouse as well, which would be amazing, but looks like bookings tend to fill up fast owing to the location. Given the windy drive in and out, you’d probably want to stock up first.
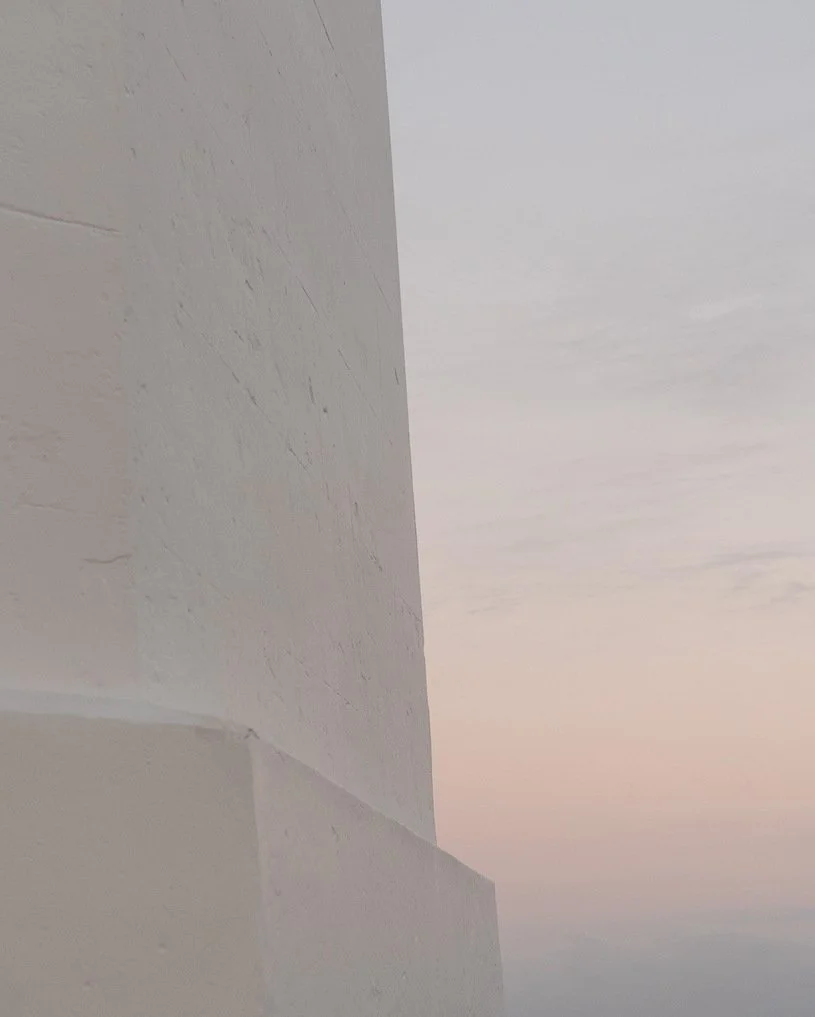
Just all-around beautiful light up at Smoky Cape Lighthouse.

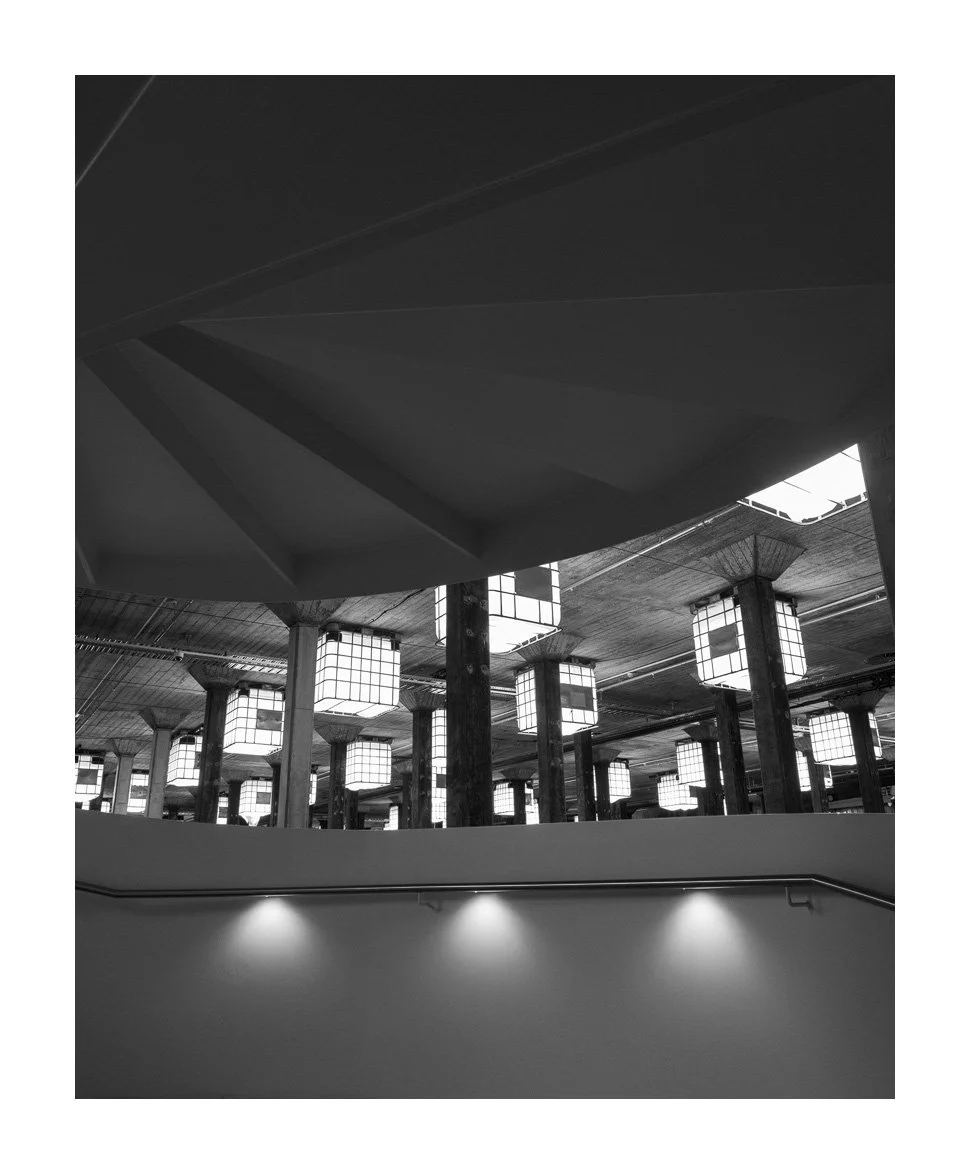
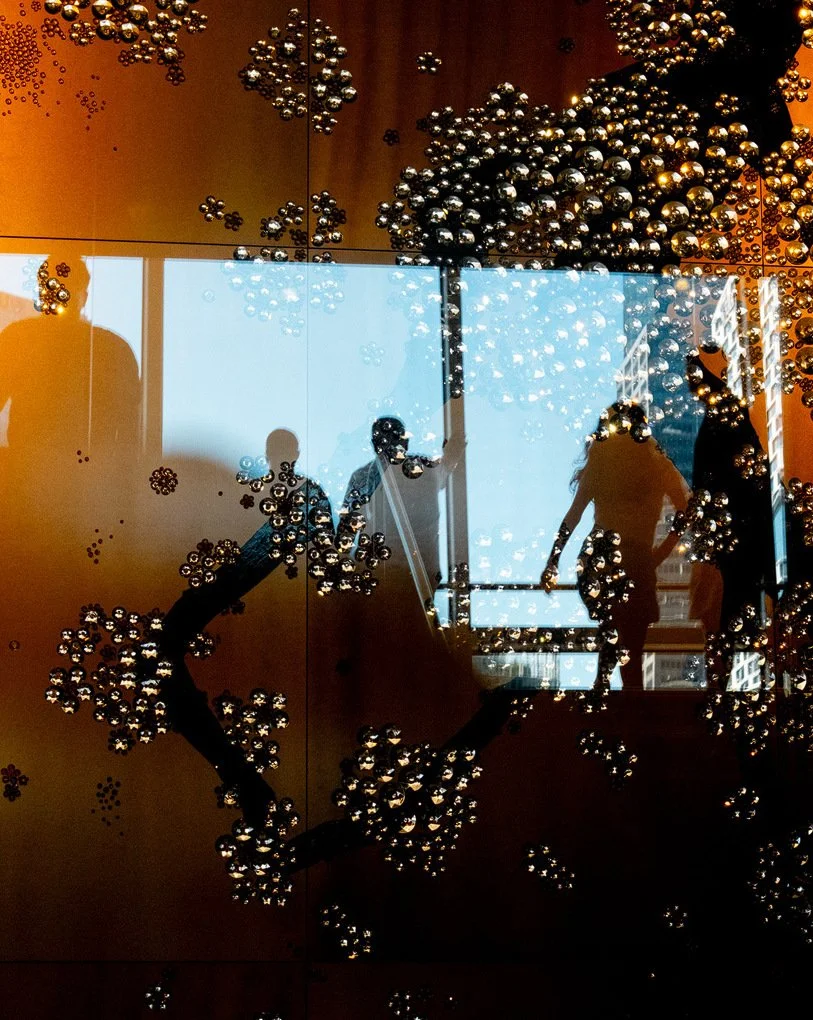
I like the leading line of the staircase railing matching the beams of light from above. The lighthouse was hypnotising. I could have watched it all night.
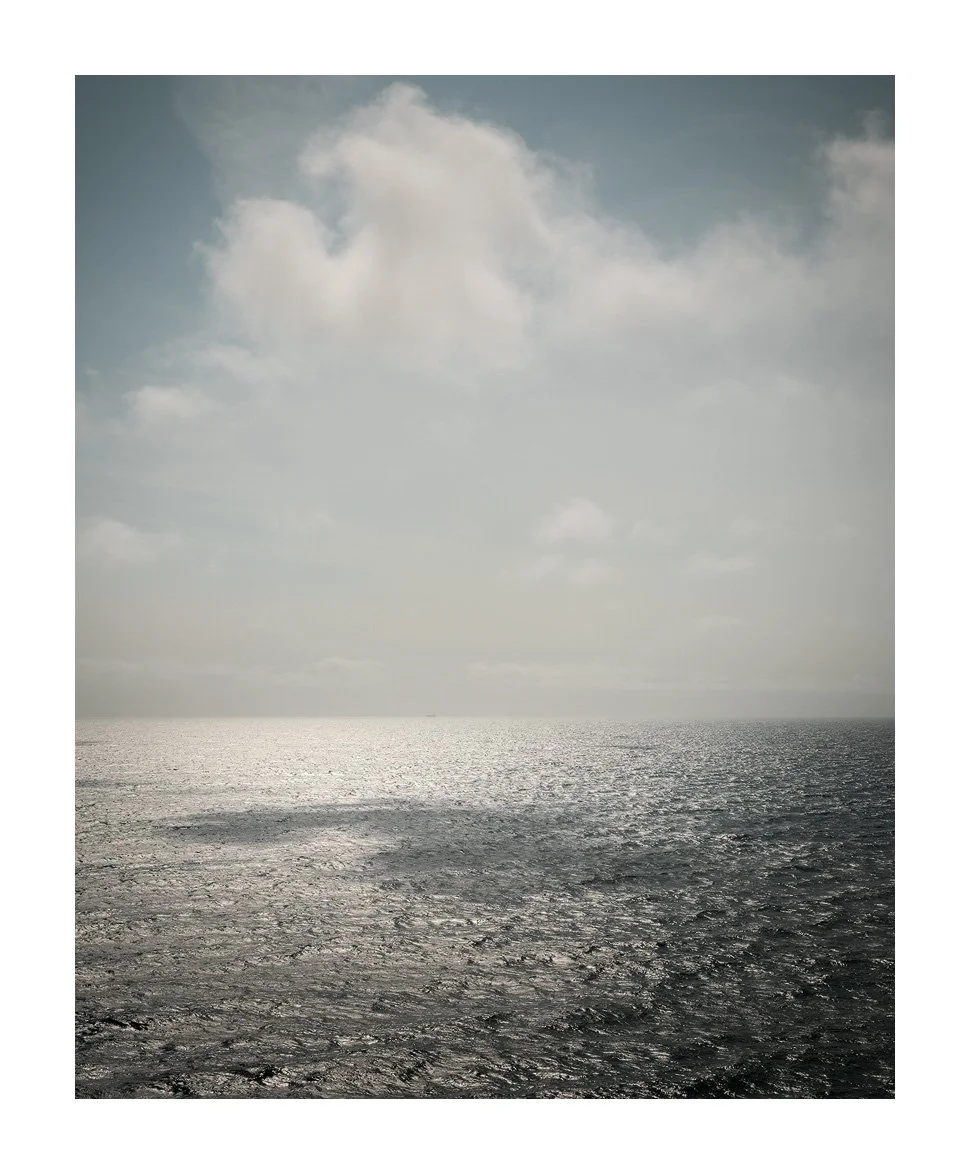
I also managed to slip in an early morning walk around town and the main beach. As you can imagine, being Xmas eve, there was a lot of activity around the place, even at 5am in the morning. Later, we were just about to jump into the water for a dip when we were told a large bull shark has been spotted in the shallows right where we were. We got lucky there, as bull sharks can be quite aggressive. But hey, what’s an Aussie beach Xmas without a shark warning? Sharks aside, though, the beaches around this part of Australia are postcard perfect.
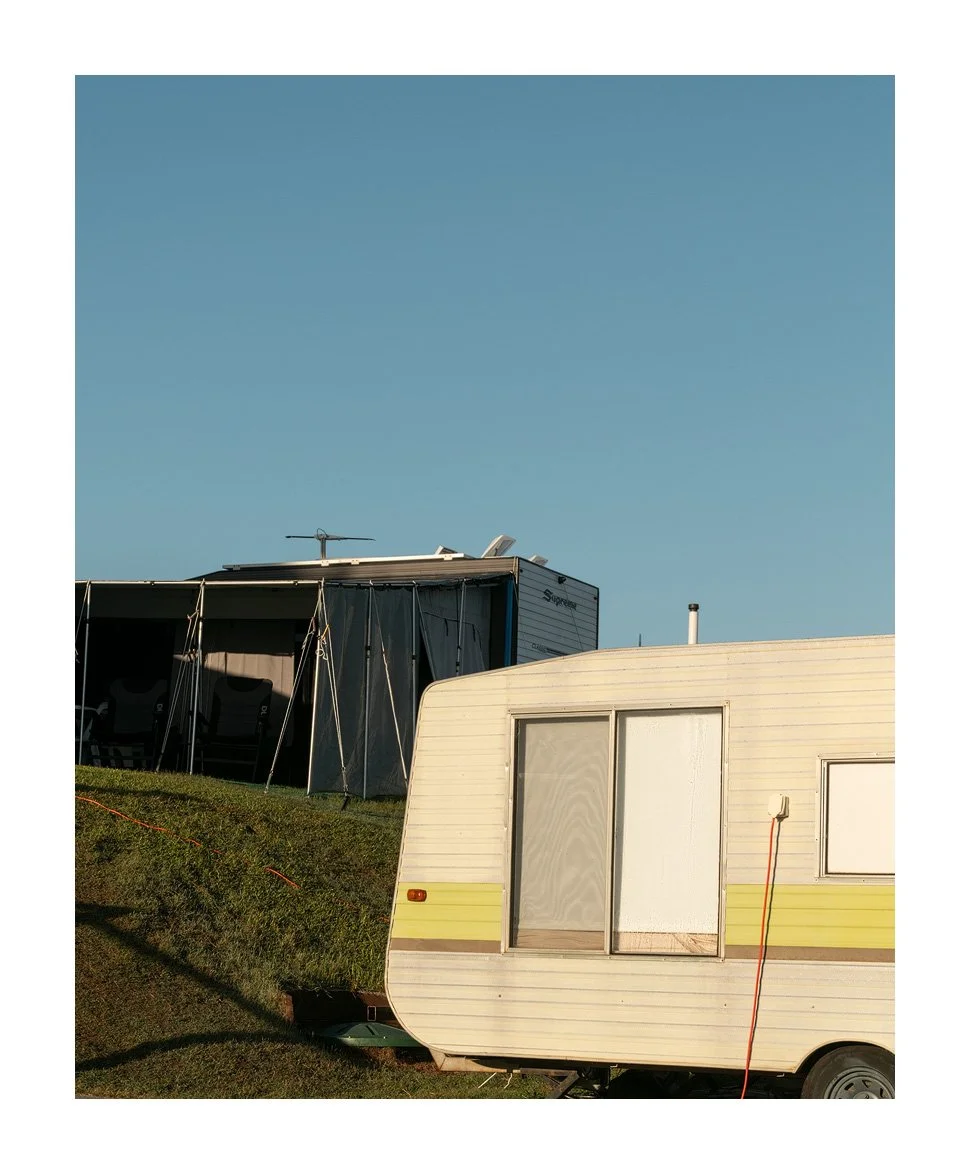
We celebrated Xmas in the park surrounded by giant trucks and caravans, our own SUV seemingly undersized, but it’s a great way to do it. And what a place. Hopefully we will be back soon. Until then, more images below.
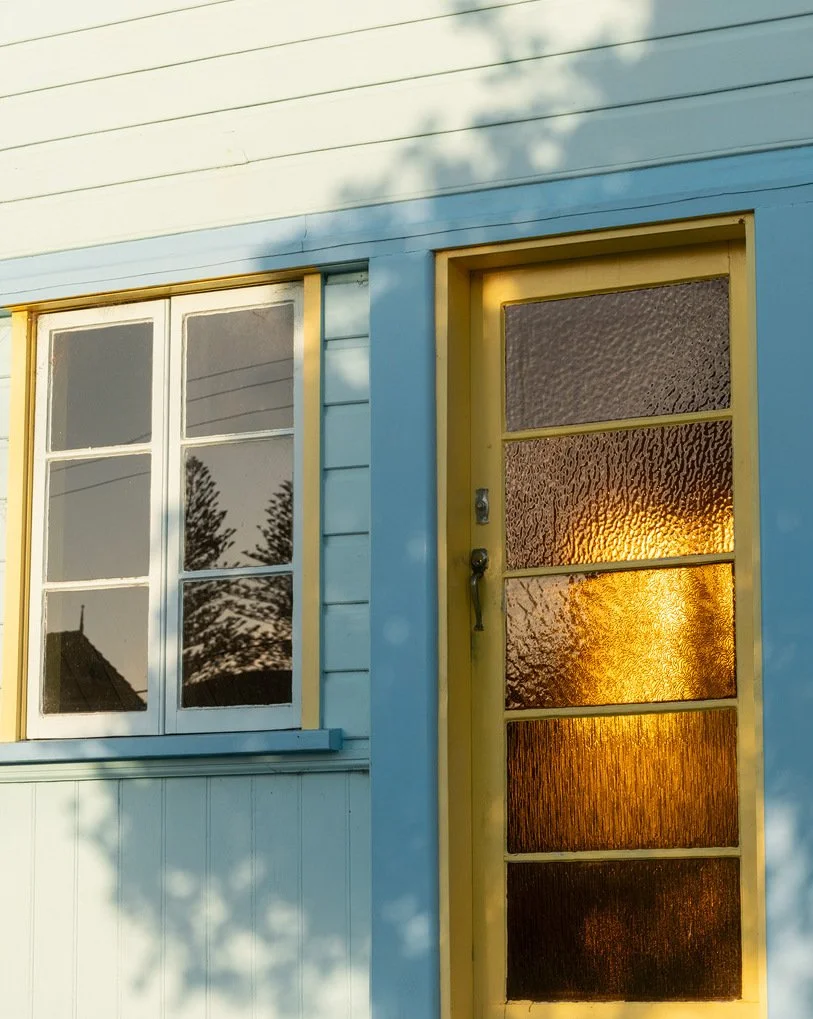
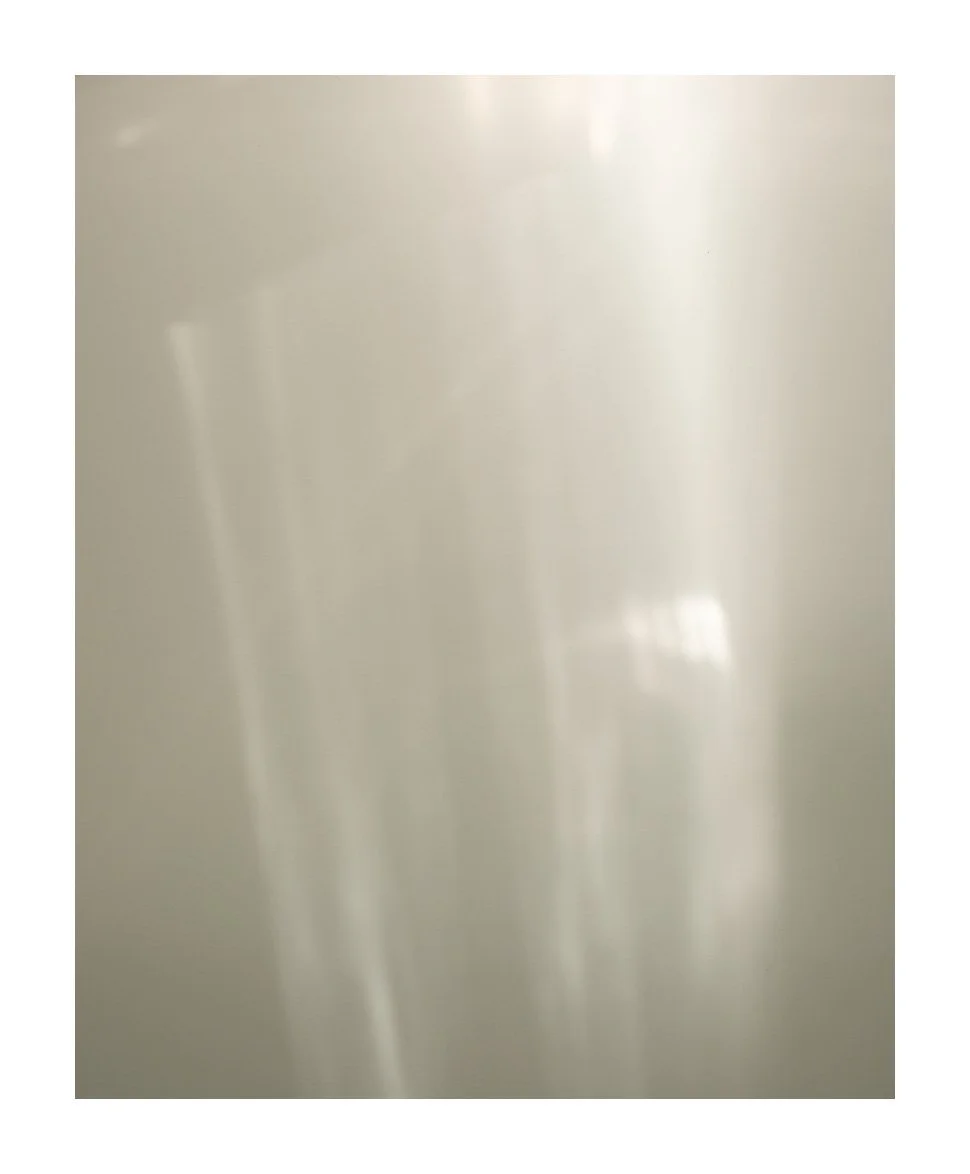
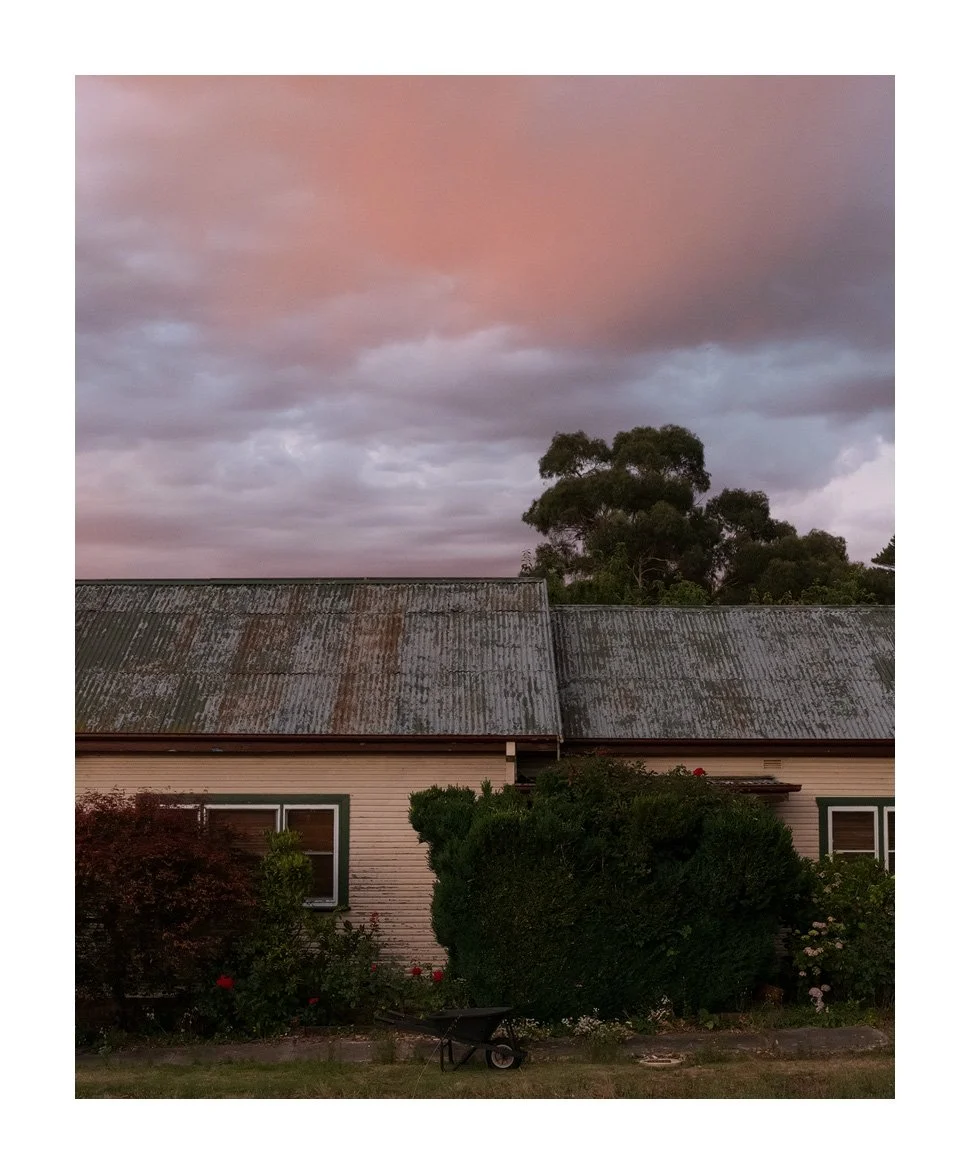
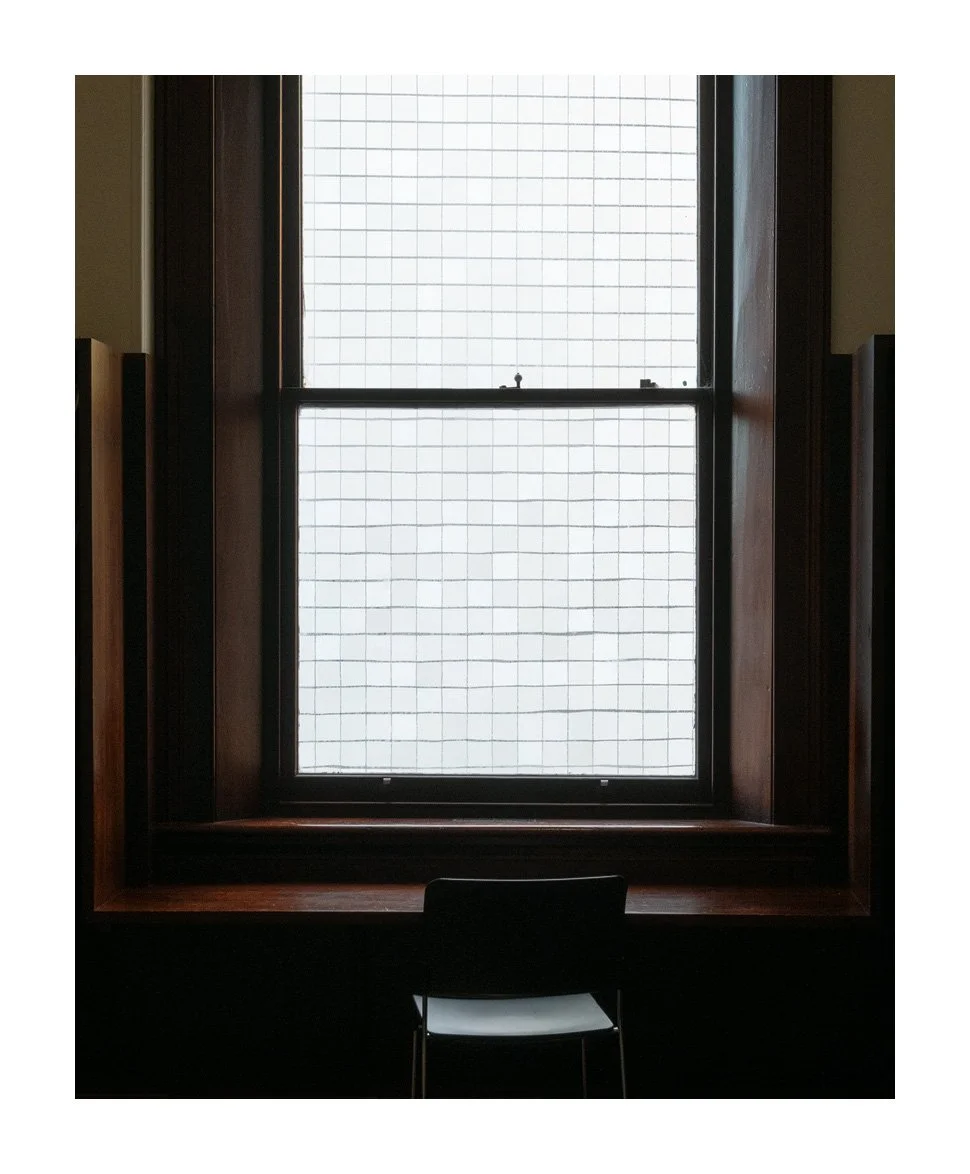
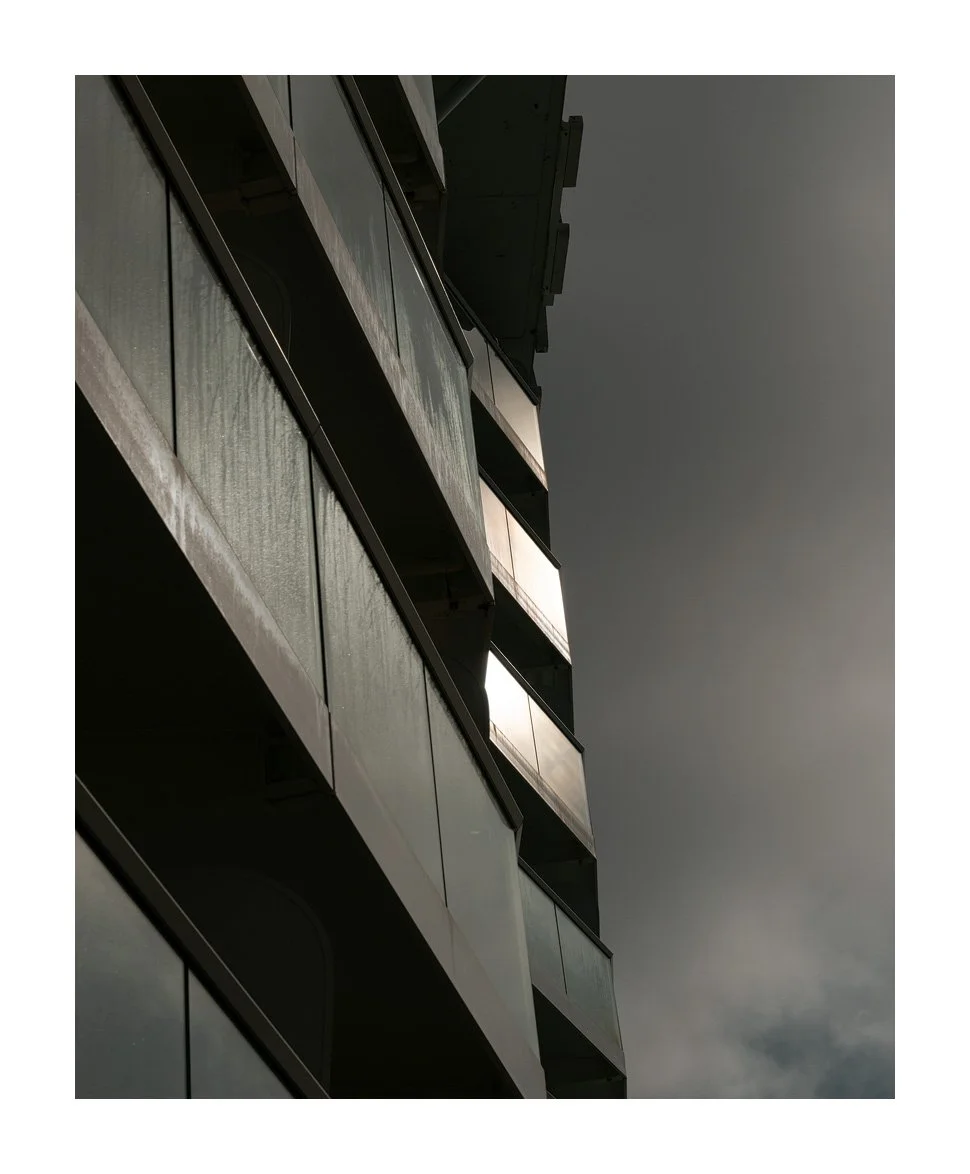
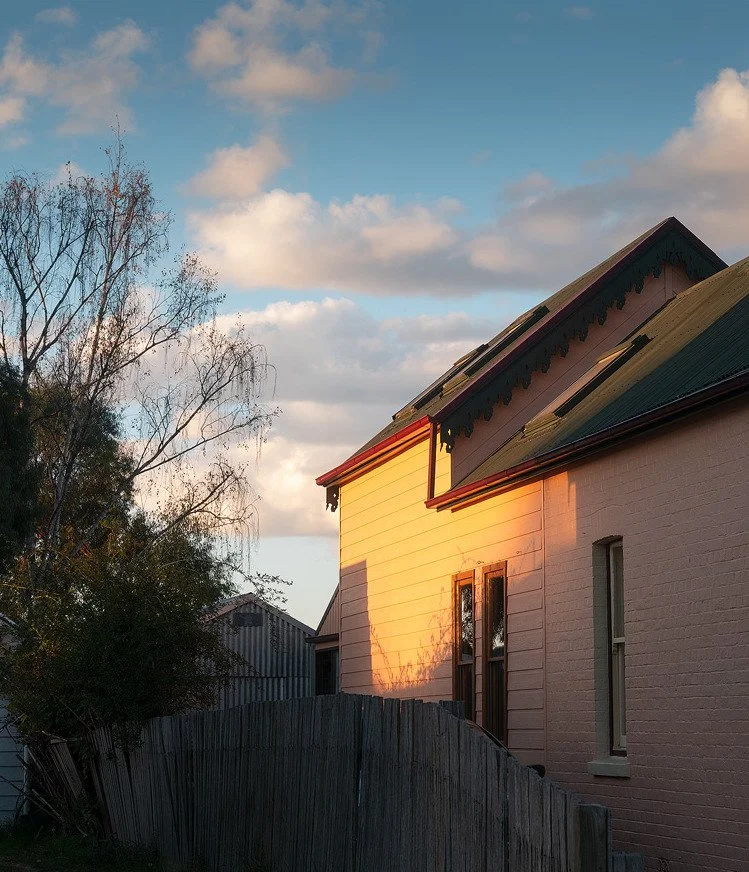
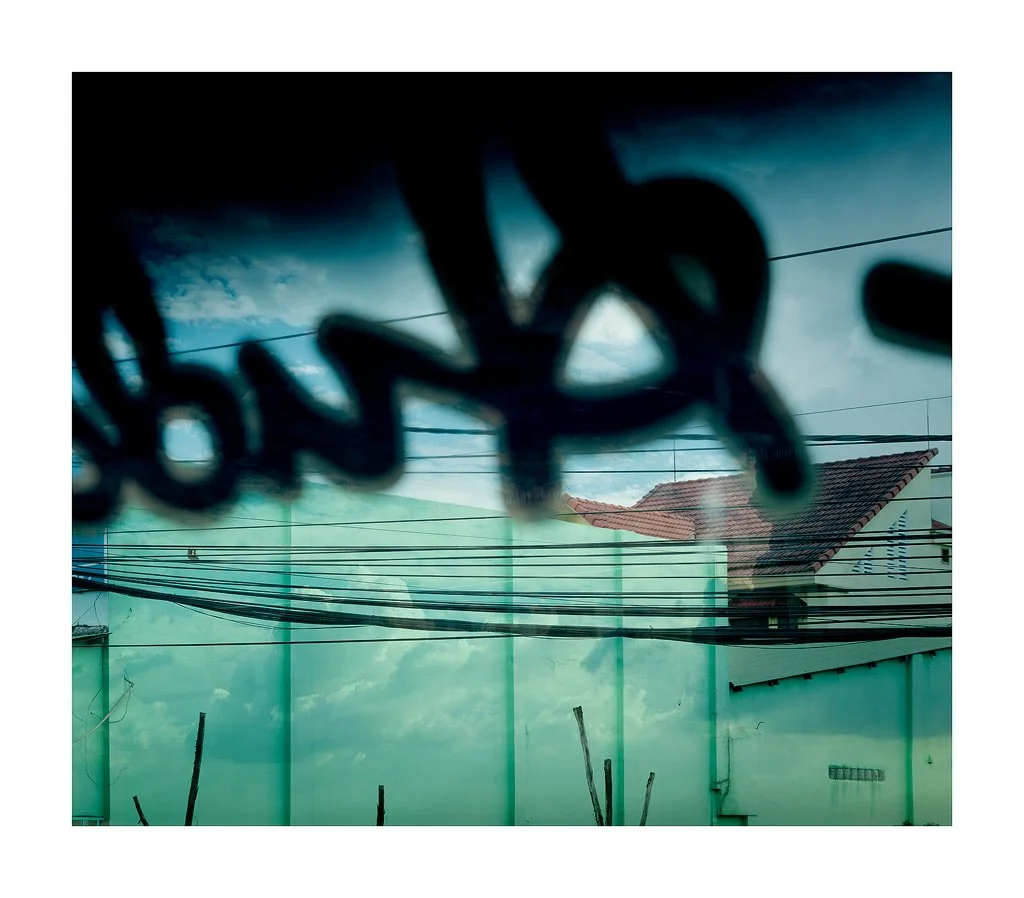
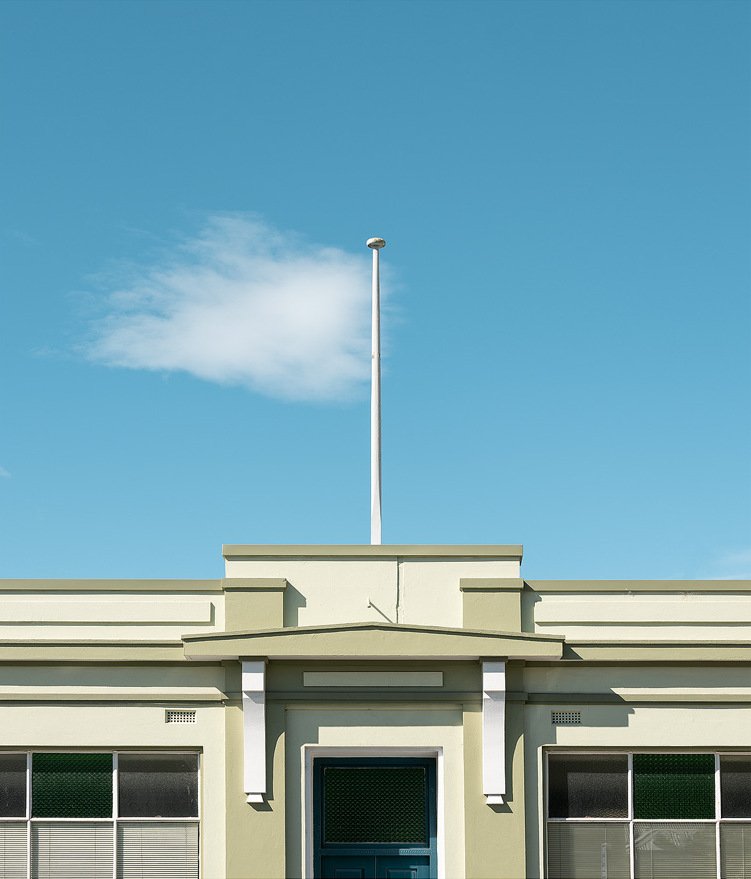
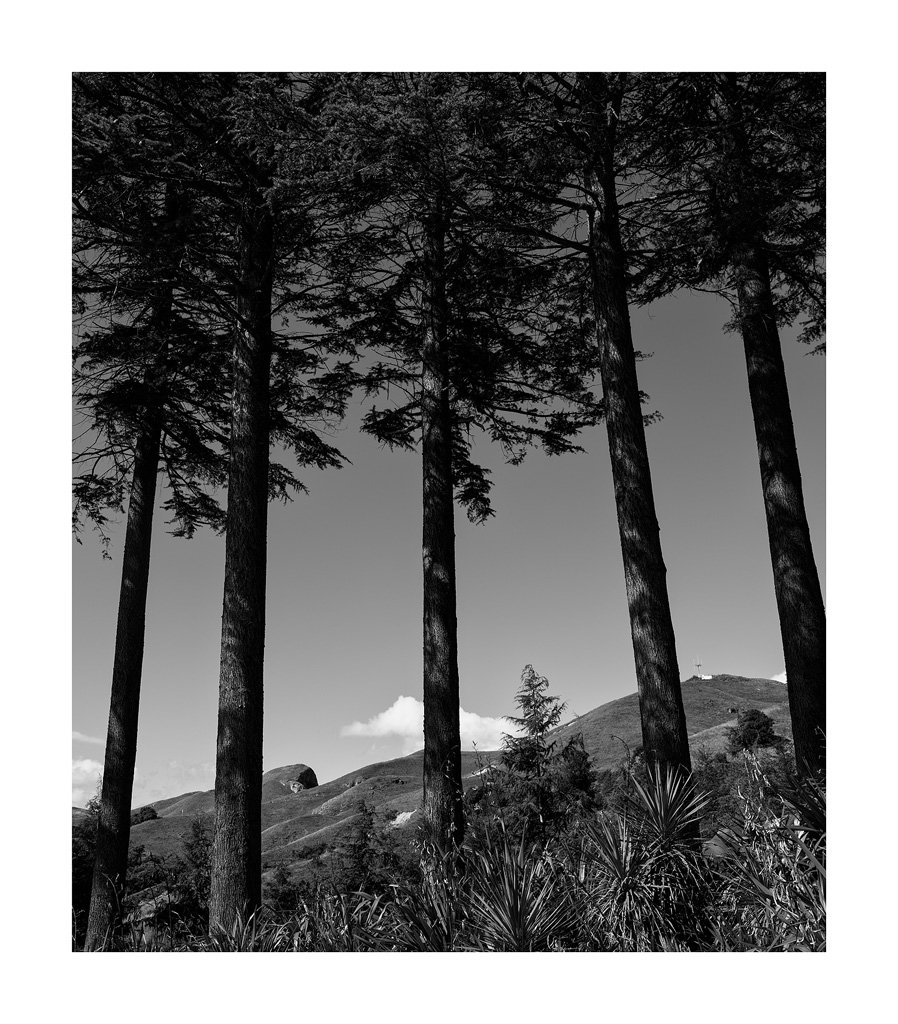
Loved this little coastal scene of the sun rising through frosted glass, the colours, the pines in the window… Very Australian coastal town.